Phase 6 – Complete!

A few years of procrastination and life getting in the way but I finally picked up the chisel and finished this puppy.

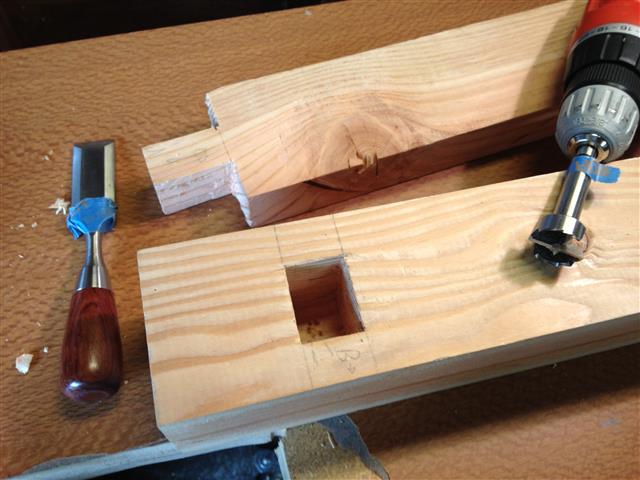
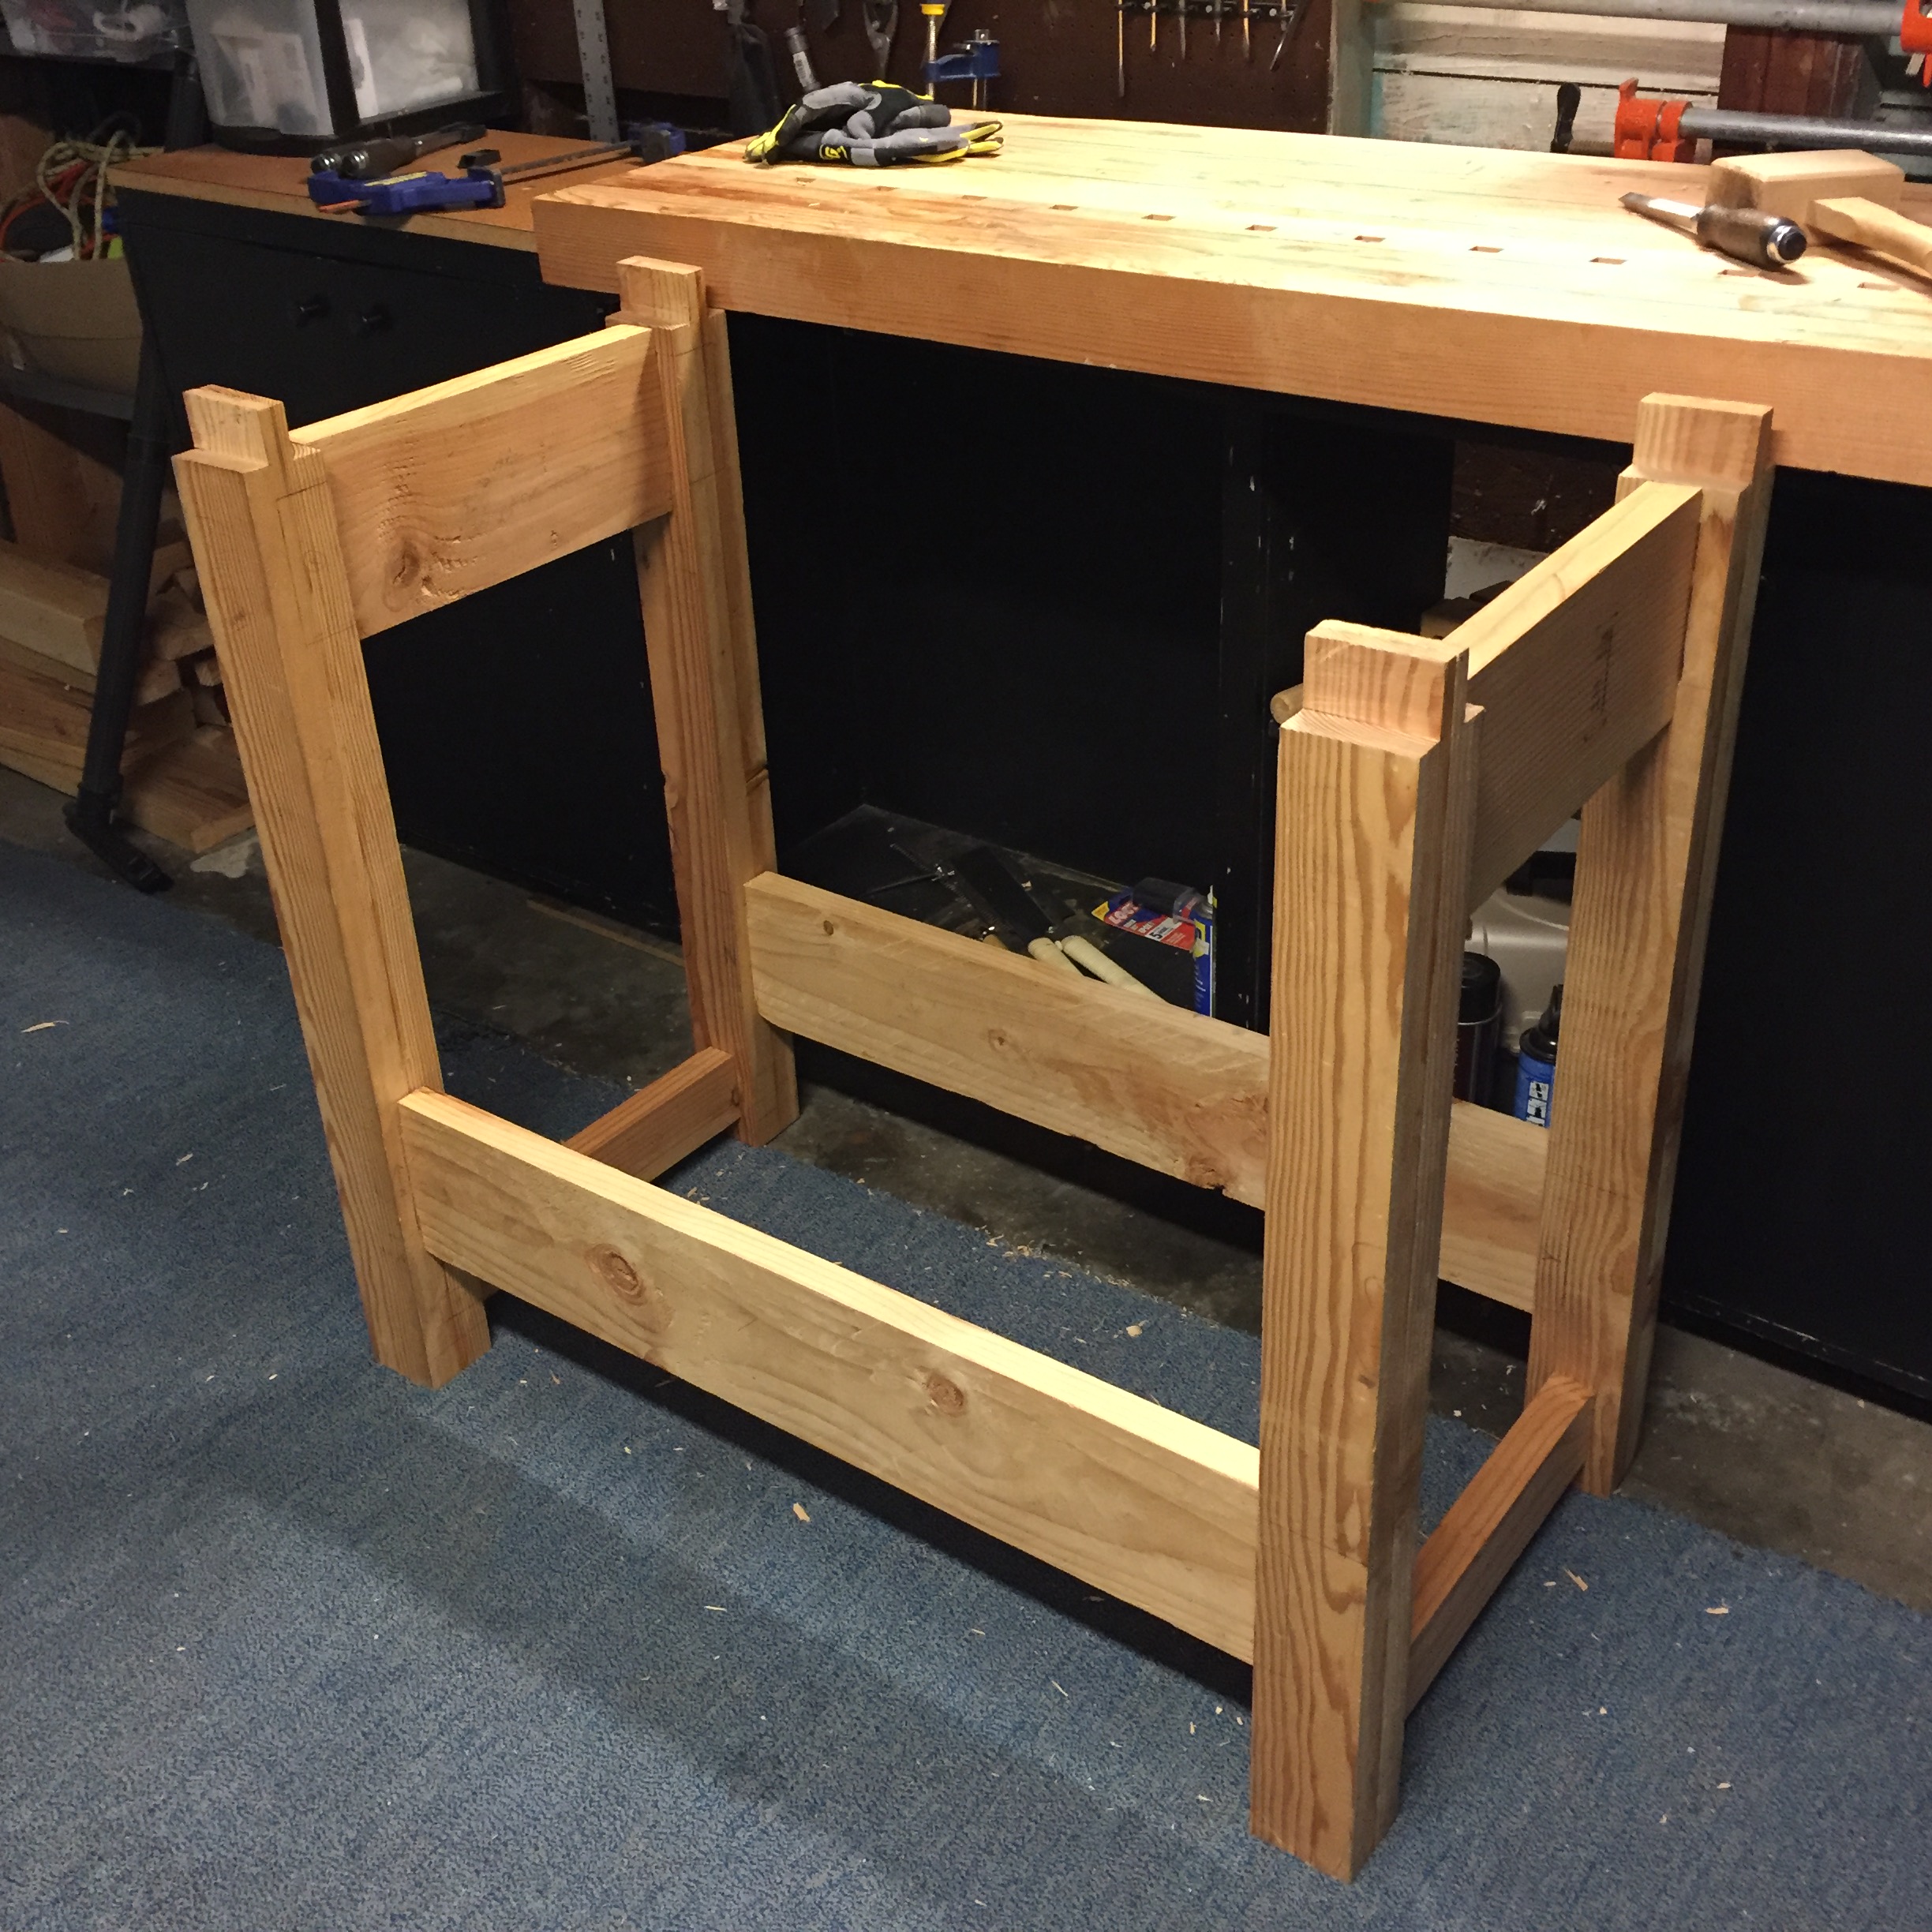
Once all the mortises were finished I drilled the holes in my legs and rails.  Then cut out the small mortise for the bolts.

2016-01-31 17.06.05 2016-01-31 17.05.57

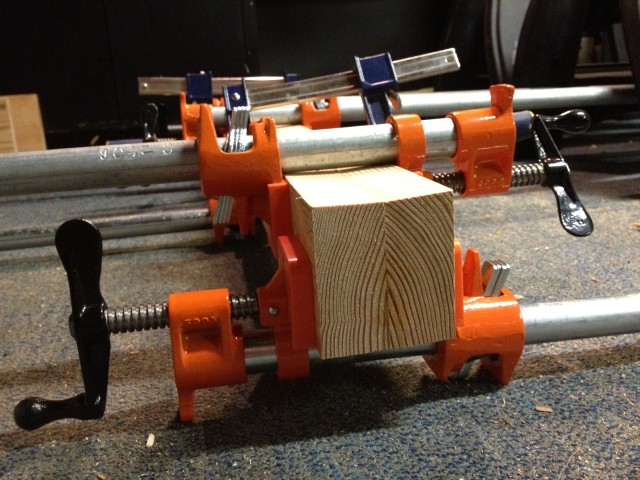
With that done I finally put the entire base together including the rail bolts.

2016-01-26 17.36.46

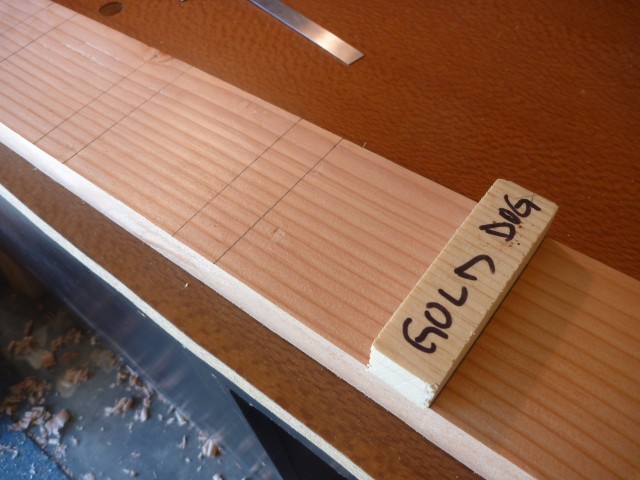
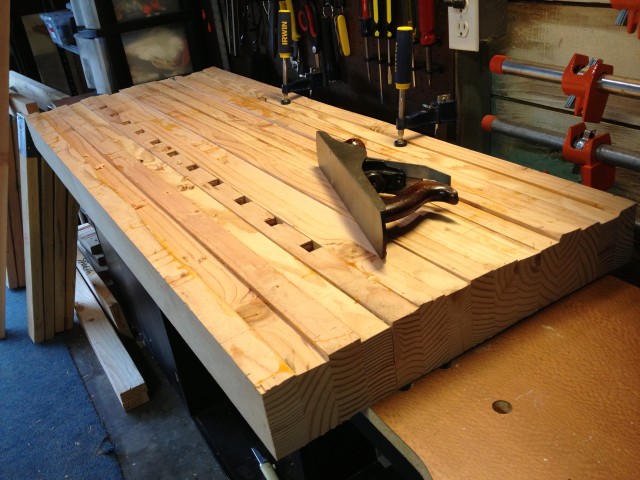
Time to connect the top! The guide I was using said nothing about how to do this but since everything else was mortise and tenon my plan was to do the same.

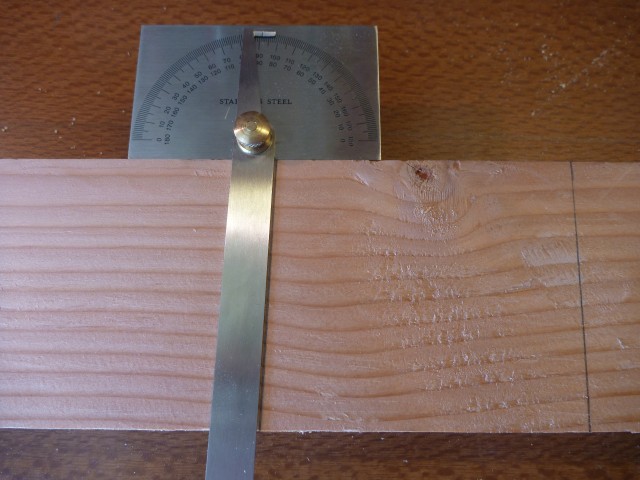
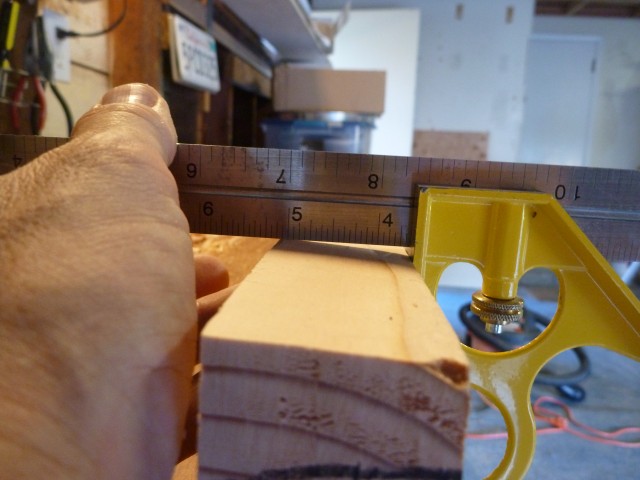
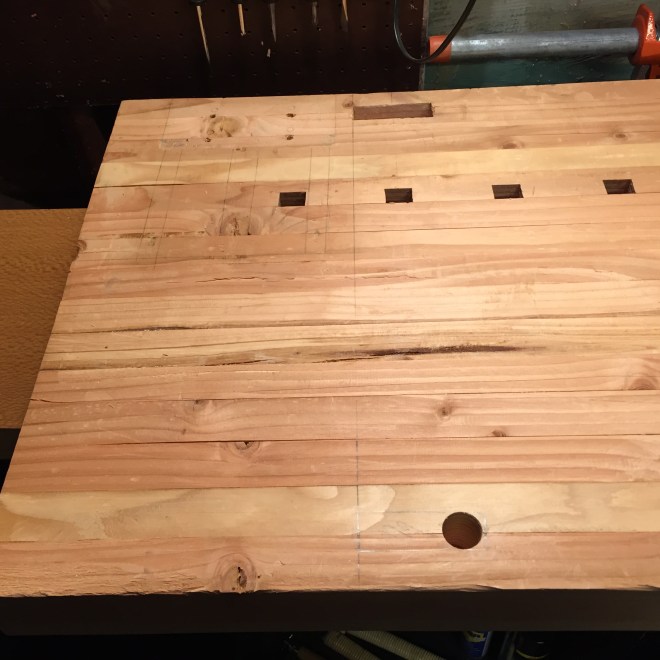
With my top upside down on the floor I aligned my base and marked out my top mortise locations. Used a ruler to verify everything was in the correct place then held my breath and went to town drilling and chopping.

Far mortise finished, near started with first hole drilled. You can also see the outline of where the vise will go.

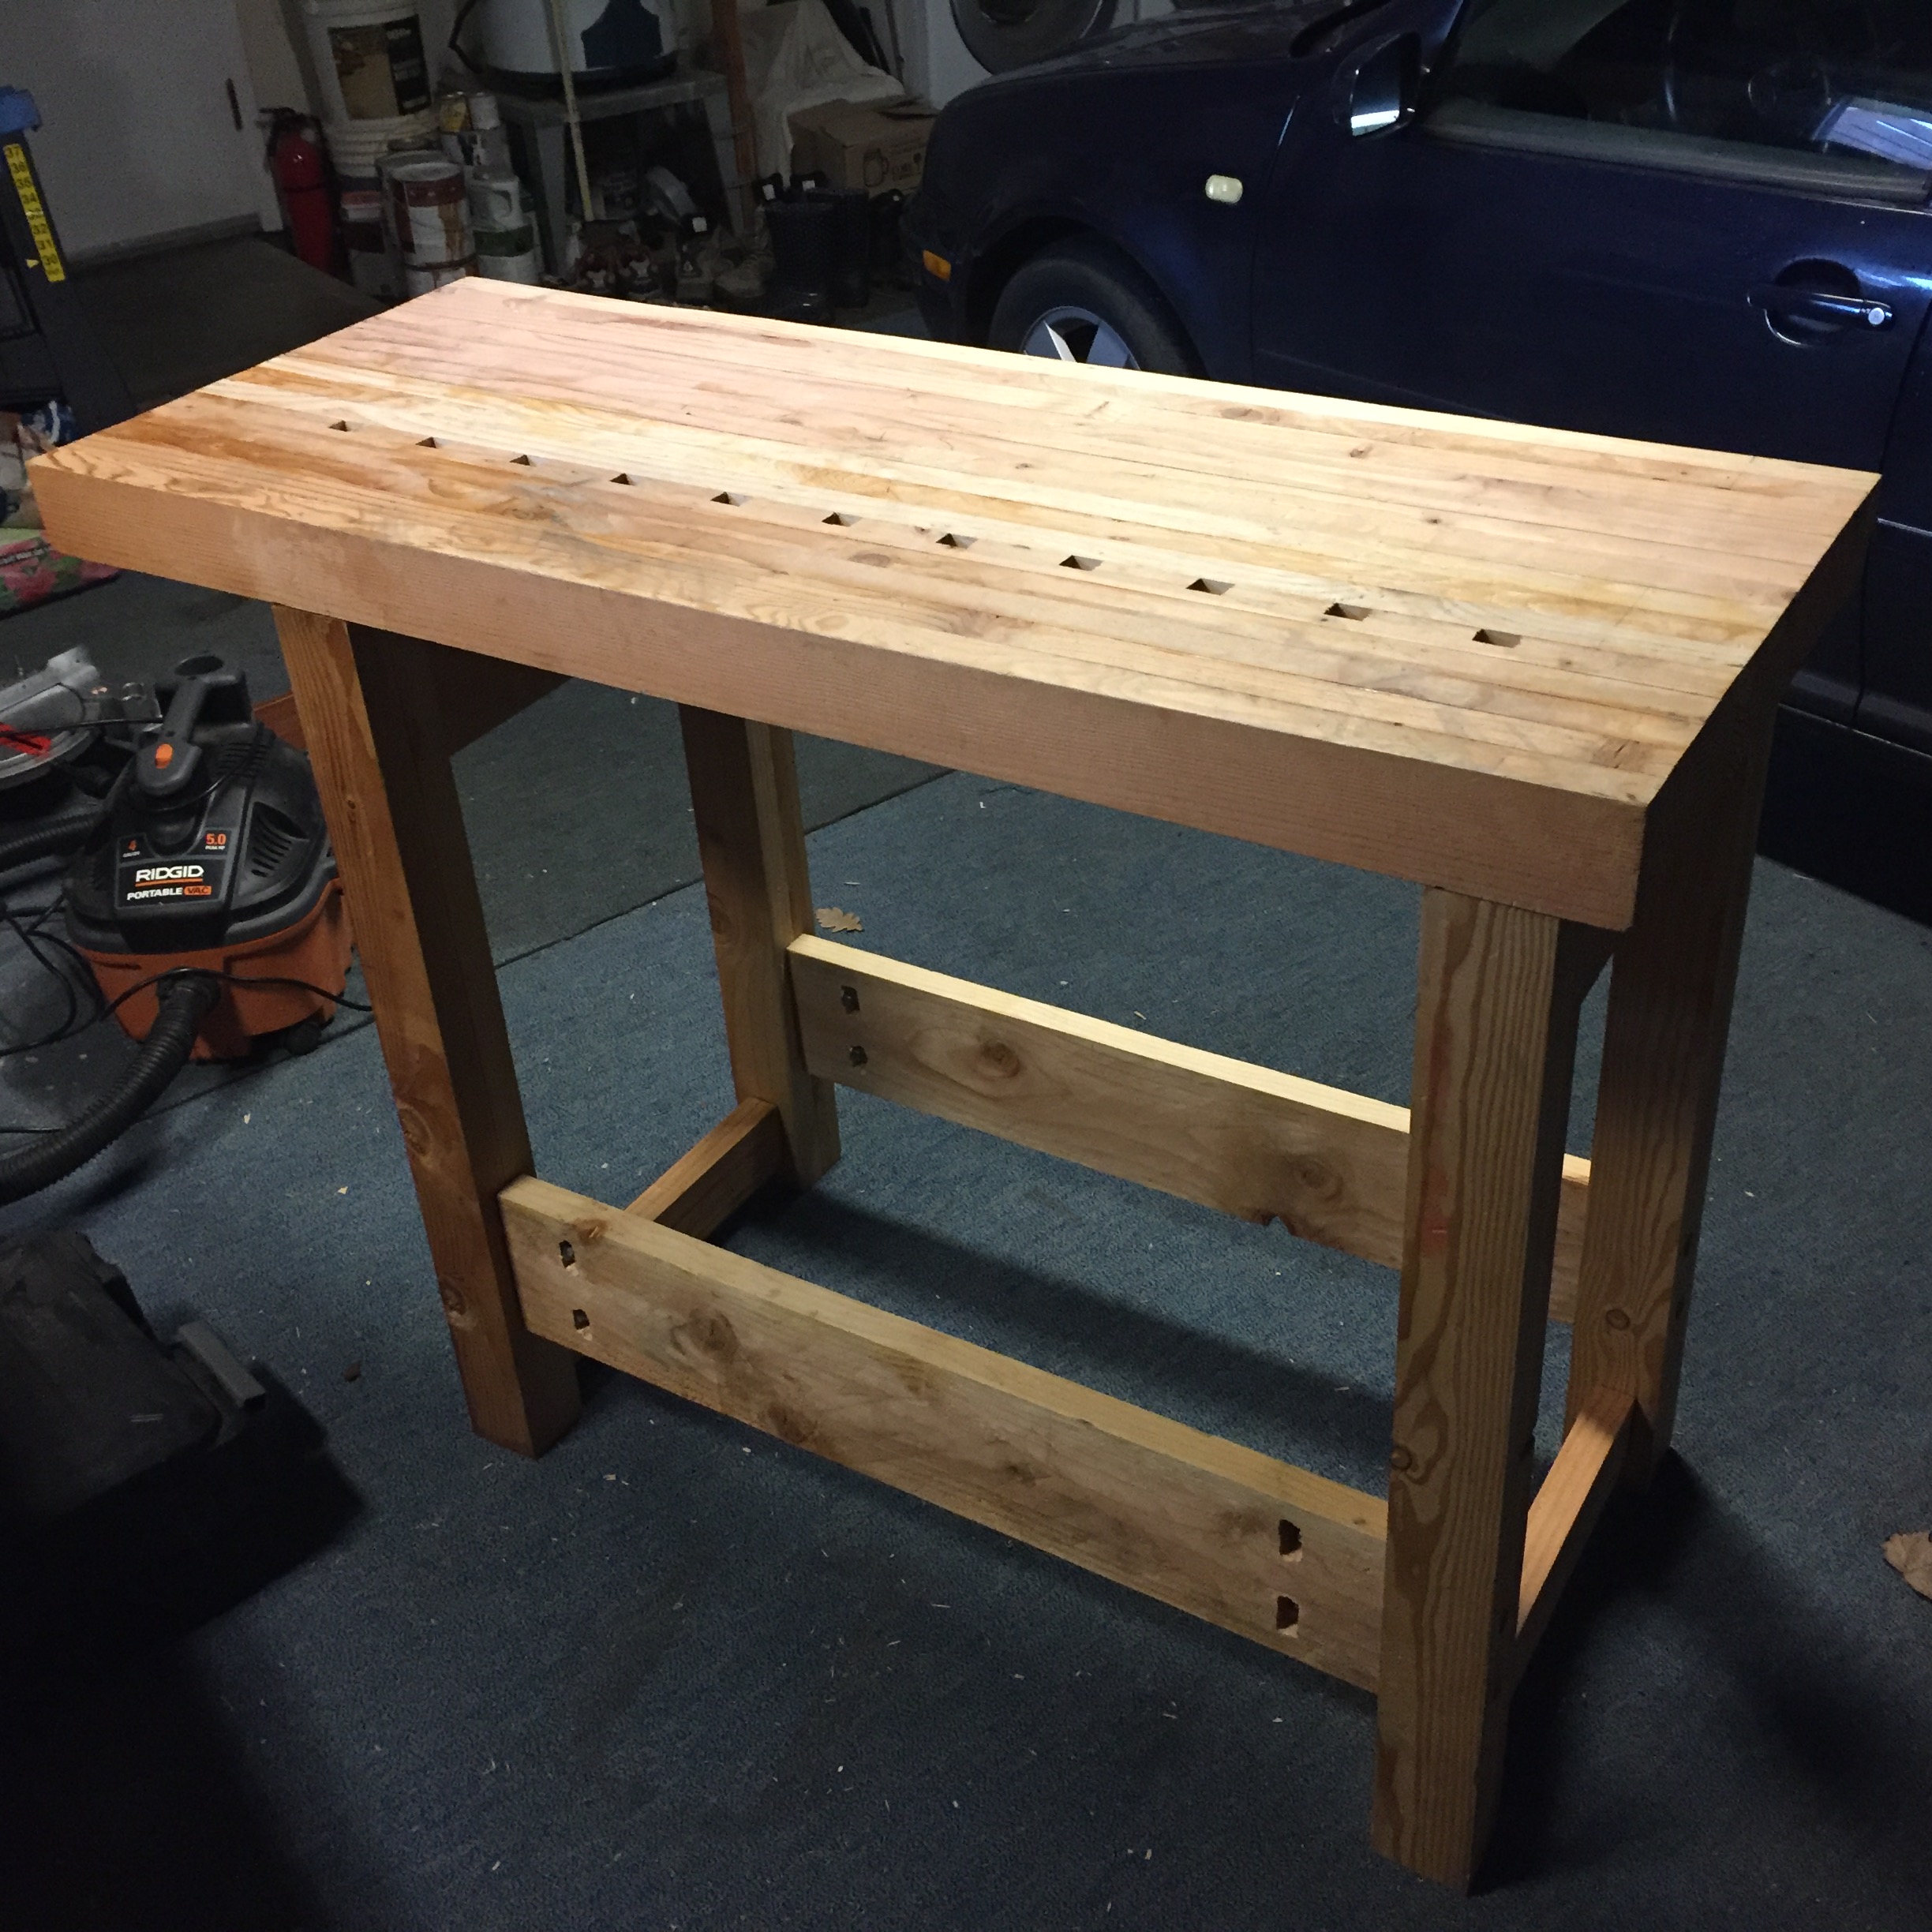
Finally it was time!  I glued this bad boy together.  Everything except the rails that use bolts.

2016-02-14 08.48.25

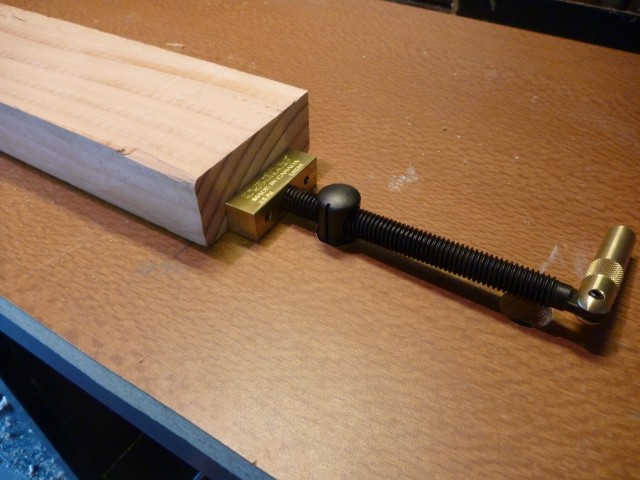
And last but not least, the vice.  I didn’t use hardwood for the face as recommended by the vendor because I just wanted it done and had plenty of pine left.  It seems to be working fine and it’s easy to change later if need be.

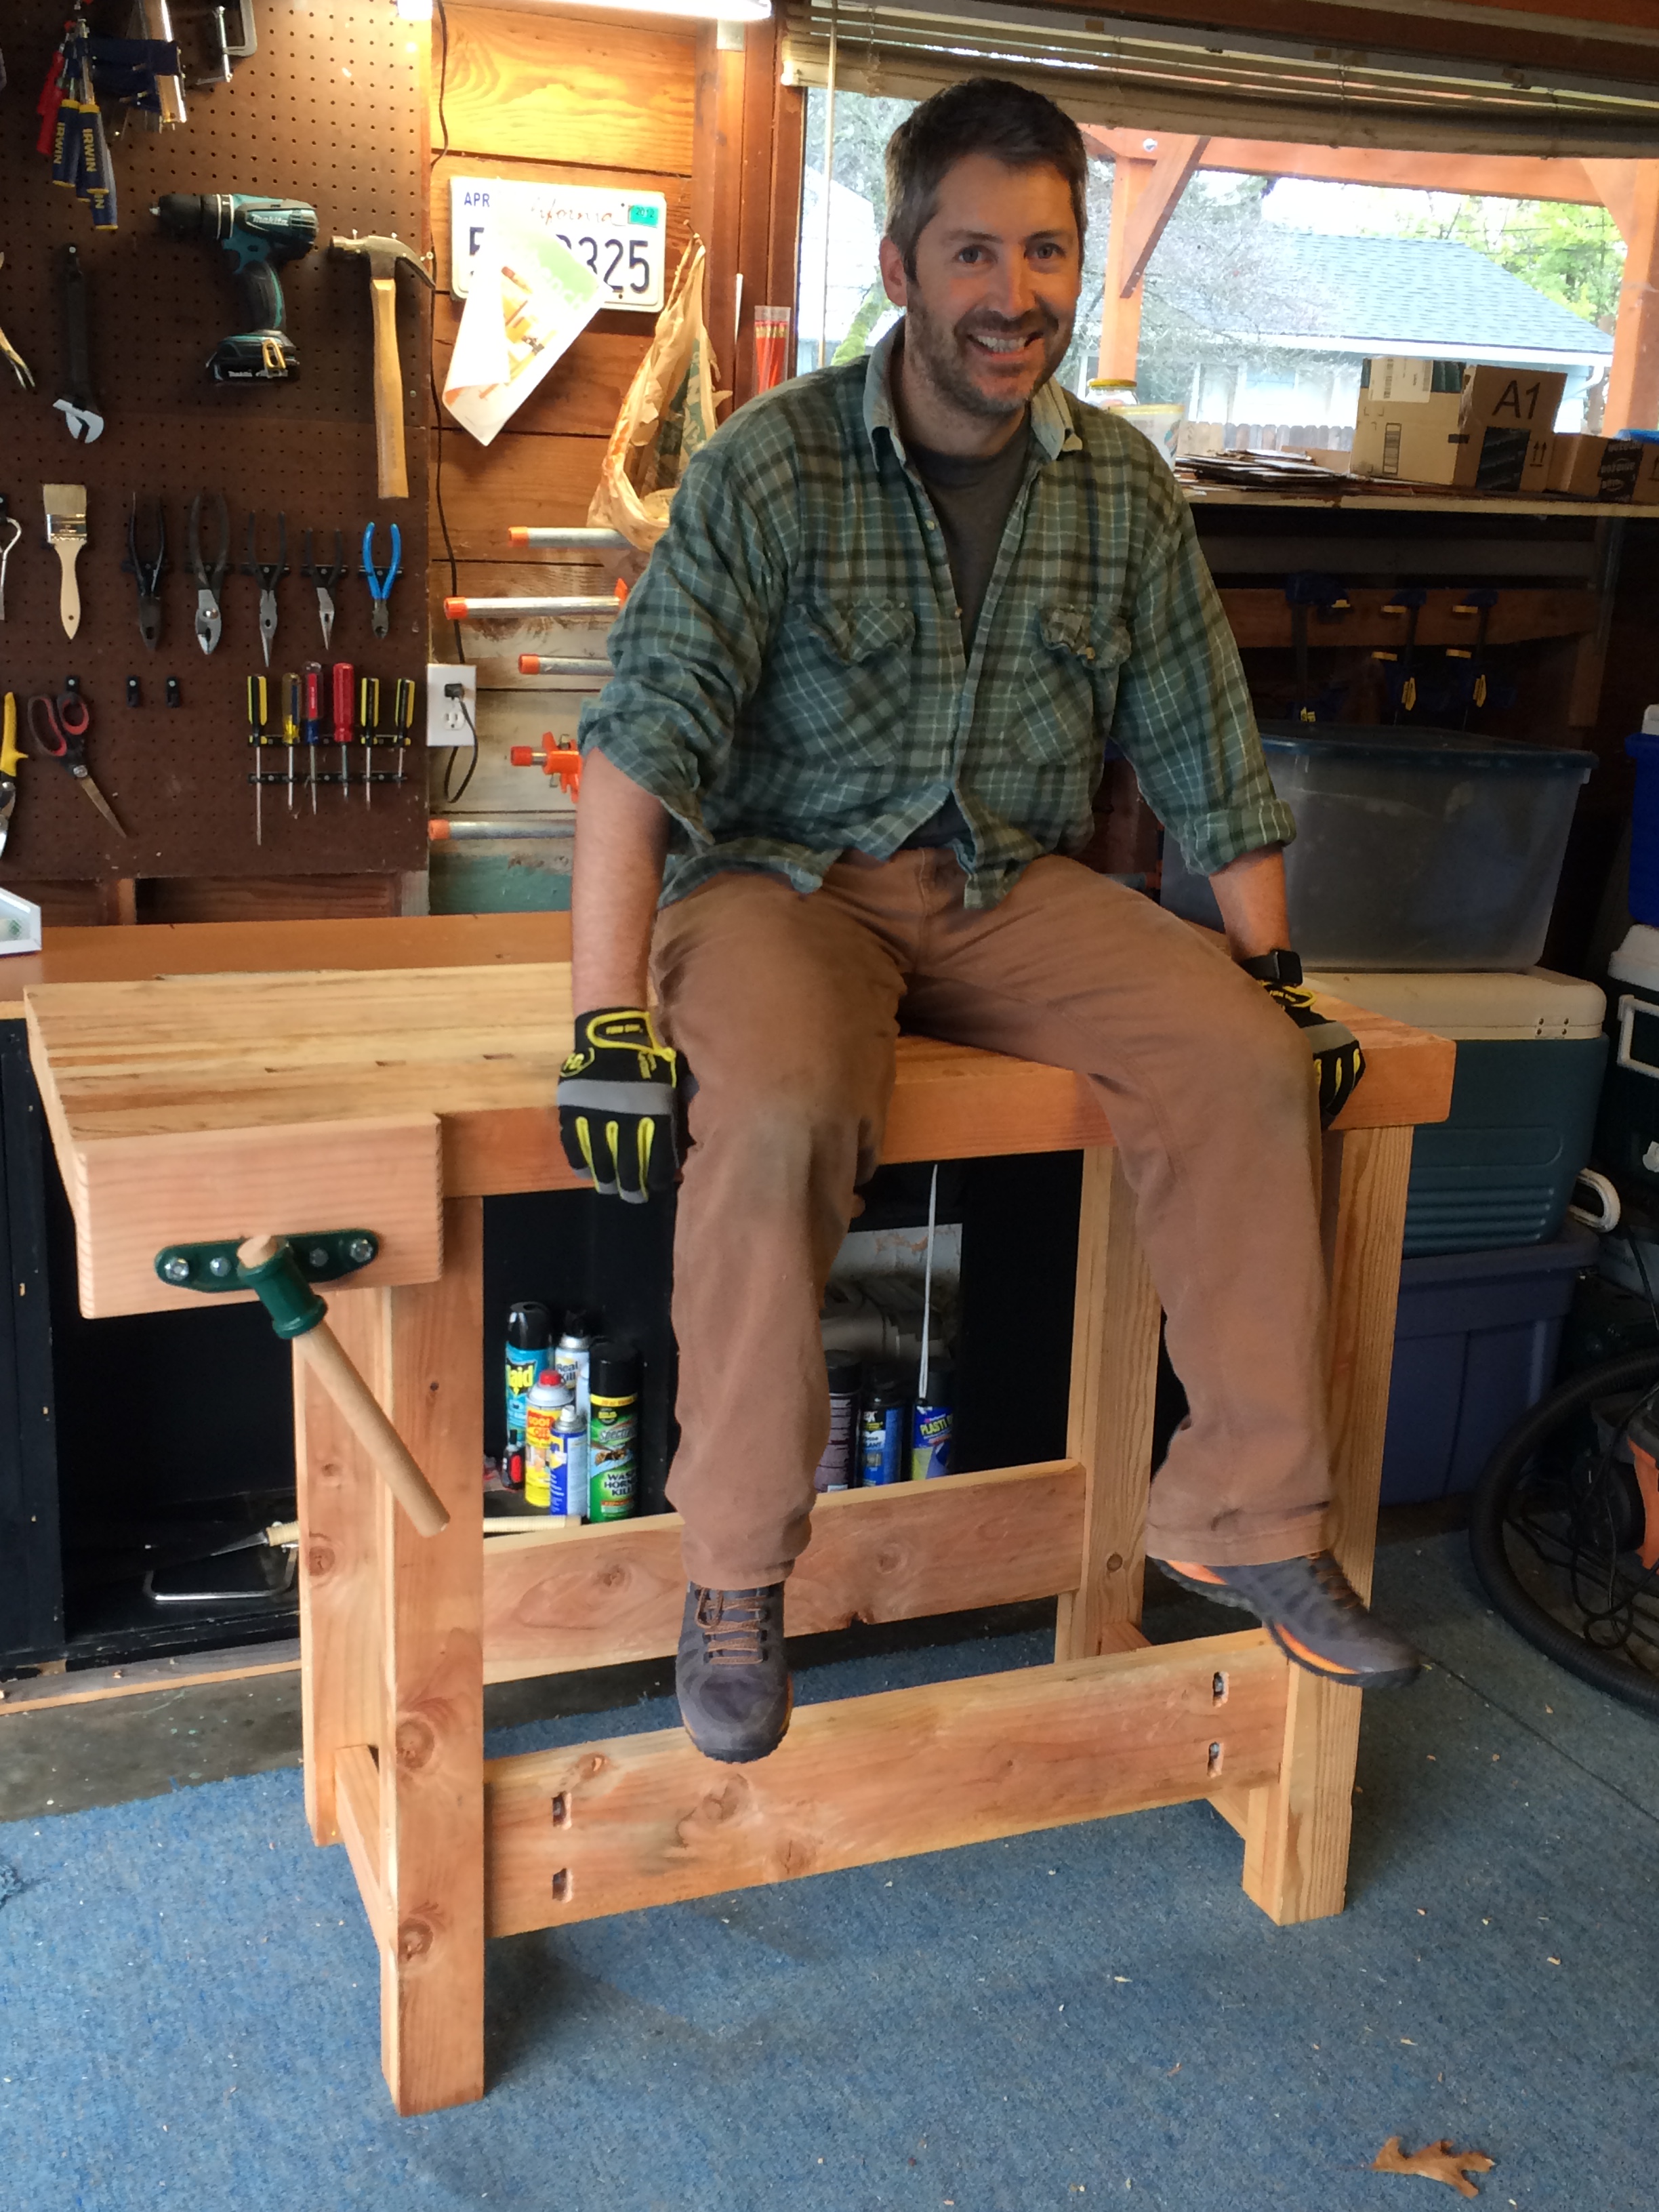
So after 3 & 1/2 long years it is finally DONE!

2016-02-14 16.06.20

Some final thoughts…

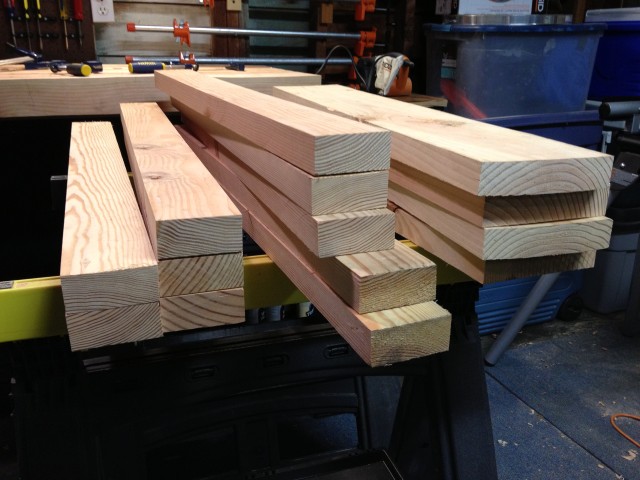
The biggest regret I have is not using a table saw to do all the initial rips.  Using my friends to rip the legs made such an epic difference.  My legs are incredibly square, sadly my top is nowhere close.  But it’s good enough for version 1.0 and over time I’m sure I’ll get around to squaring it up a little better.

But for now, I’m gonna go actually build something on it!

Phase 4 : Legs

A few days ago I finally started on the base.  First up, cutting the rest of my lumber to size. This time around I hunted down a friend that I found out had a table saw.  After the top debacle I had no plans on trying to cut the entire base to size with a circular saw again.

Here are the results…

So yeah, a table saw pretty much kicks ass.  I’m kicking myself for not tracking down one sooner.  I didn’t even bother to plane the legs.  I just glued those suckers together.

Oh how my painfully jagged top would have appreciated a table saw.  Ah well. Live and learn.  I broke down and have a power hand planer arriving today to try and deal with my top woes.  After hours of planing it became clear my top would not get fixed by hand.

Surprisingly, the Porter-Cable was the only one that came with a dust bag.  Seems trivial but after using a router without dust collection, no thanks.  Attempts to find a dust bag for the others either came up empty or expensive.  This one, with dust collection, was significantly cheaper and got decent reviews.  Hopefully it holds up.

And yes, I could have bought new lumber, borrowed my friends table saw, and redid my entire top without need for the power planer for a fraction of the cost.  But then I wouldn’t have a cool new power tool.


Dog Hole Board

Towards the end of my planing & glue up stage I chiseled out my dog hole board.  I decided to go with square holes rather than just drilling in hole at the end, 1. because I think they look cooler, 2. see #1.

I decided to cut them to fit a dog that’s 1″ by 3/4″.  I first cut out a “gold dog” to use as a benchmark for each hole.

I set my holes 4″ apart and tilted 2 degrees.  I used my gold dog to draw everything out.  They may not be exact, but they’ll at least all be the same.  This metal protractor from HomeDepot worked great to measure the angles.

Since I don’t yet have a vice I used this little trick a number of times.  Works quite well…

I locked my board down with a Veritas Wonder Dog.  This thing worked great.

On recommendations from Woodman I bought a Japanese hand saw for most of my cutting.  Another recommendation that was spot on.  Cut down to my lines then used my chisels to chop them out.

Once the majority of the waste was out I worked on making each hole fairly exact. I used my gold dog for reference.

Only two left!

That took a fair amount of time.  I had it down to about 20 minutes per hole in the end.  Though after the first 6 I took a few days off because of blister my small chisels worked up on the palm of my hand.

I tried to keep them as sharp as possible with a water stone but flattening chisel backs and  keeping a razor sharp edge was also a lesson in patience.


Phase 2 : Planing & Gluing

The next few months were mostly spent wrapped up in work, and traveling.  Eventually I got back to planing and gluing.

I added some holes to my temporary workbench, created some simple dogs and went to town.

 They started out pretty bad:

After attempting to square each board I’d glue it up.  The first two…

I used a piece of cardboard to spread the glue nice and even.  Seemed to work pretty good.

Then more planing…


I eventually glued up enough until I made it to the board where I wanted my dog holes.  I took a break from planing & dove into some chiseling.  Once my dog hole board was done that got glued up.  Unfortunately I needed one more clamp so I hacked this together:

A little sad but it did the job.  Needless to say I ran out and bought a few more pipe clamps.

Finally, the top was all glued up.  The planning definitely helped square the faces and keep the top relatively straight with out too many gaps.  Well, too many gaps for what I’m considering acceptable.

The biggest issue is, as you can see, the horribly different sized widths.  I mostly focused on getting square faces for the gluing and less on fixing the width issues.  That’s tomorrow Mike’s problem.

A word on my clamps…

I decided to use pipe clamps rather than the far more expensive F clamps you can get at HomeDepot.  These where key and worked great.  I decided on 36″ silver galvanized pipe with 3/4″ Jorgensen Pipe Clamp Fixtures.  There’s some debate about black pipe vs. galvanized.  I decided on galvanized based on some recommendations, the fact I didn’t want everything black, and it was cheaper.  The only issue I’ve noticed is they gouge where the clamp rests.  It doesn’t seem to be a real problem but it does make the springs fairly difficult to disengage when you loosen the clamp.

Workbench Book Highlights

Notes from Workbenches book.  It’s dense with great knowledge.  A must have if you’re building a workbench.  Here are just a few of the things I highlighted.

  • Southern Yellow Pine, 2x12x12 untreated (2×12 or 2×10’s, not 2×4′ – they are the worst for knots, bow, etc.)
    I don’t have Southern Yellow Pine here in OR so I used Douglas Fir – from what I can tell it’s pretty similar:

    Southern Yellow Pine Doug Fir
    E Value (stiffness) 1.93 1.95
    Specific Gravity (weight) .67 .48
    Janka (hardness) 690 660
  • Driest wood for anything with a tenon, wettest for anything with a mortise. Wet mortises will shrink on the dry tenons.
    So wettest for top and legs
  • At least 5′ long
  • 24″ deep
  • 0 top overhang
  • make front stretchers flush with top
  • face vice on the left
  • rear jaws of vice flush with front of top
  • dog spacing should be 3-4″, 3″ recommended
  • the line of dog holes is usually nearer the front edge than it is to the centerline of the top
  • Top of table saw is usually 34″ from the floor, so a slightly shorter workbench makes a great outfeed table.
  • Height: From the floor to where your pinky joins your hand.
  • Thickness: 4″ or more
  • Gallon of slow setting glue like Titebond Extend
  • Spread the glue with cardboard
  • Make sure grain is running in the same direction since you’ll be hand planning later
  • Plan sections so bow faces the inside of the assembly
  • Use plywood spacers to create tenons in your legs
  • Plane a 1#4″ x 1#4″ chamfer on the bottom edge of the legs to keep them from snagging when sliding the bench
  • attaching the top – lots of notes.  I found this topic oddly missing from numerous other articles.  Tenons go half way through the top and are attached without glue.
  • mark high spots with chalk then plane them off

After looking at numerous plans I decided on the $175 Workbench plans as my main guide.

Phase 1 : Cutting

Time: 5pm – 8:30pm
Task: Rough cut 4, 2×8’s to 16, 1 1#2 x 3 3#8 x 54 1#4

Took awhile and they ended up far from perfect but the best *I* could do with no table saw.
I started by cutting the 2×8’s down to 54 1#4 with my miter saw.

I then ripped 2#16’s off each side to knock off the round edges. One last rip to get 2, 3 3#8 boards.  I used the guide on my circular saw for the rips.

With wobbly saw horses and no ripping skills the final boards did come out with nice square corners, but no where close to flush when stacked face to face.  It may have been better to do the rips before cutting them down.

Looks like some serious planing is in my future.

Update (2016): My bench is now finished and if you’ve never done a project like this before and are at this stage, if you’re boards look anything like this, STOP. Stop, find a table saw, and do this step correctly. These need to be perfect because chances are you won’t do the serious planing you need.

Phase 0 : Workspace & Wood

Temporary Workbench
First to create some kind of temporary workbench.  I currently have this so was able to create at least a basic workstation.

The underside of the table however was an impossible clamping surface.


So I sawed off the front to make it flush with the top rail then took one of the shelves and drilled it up underneath to create a fairly flat surface.  I also knocked out the back a little so I could feed a clamp in from behind.

Not great, but it beats my previous sad excuse for a “workbench”…

Lumber
With the temporary workbench ready to go I headed to Spaeth Lumber and picked out 8 of their best 2x8x12 kiln dried Douglas Fir boards.  I choose Doug Fir because that’s as close as I could find to Southern Yellow Pine here in Oregon.  Kiln dried was a tad extra but seemed worth it to avoid the drying and flexing issues of green wood.