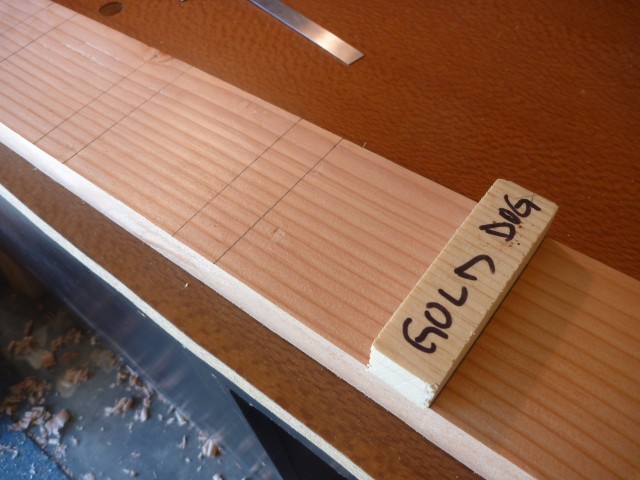
Towards the end of my planing & glue up stage I chiseled out my dog hole board. I decided to go with square holes rather than just drilling in hole at the end, 1. because I think they look cooler, 2. see #1.
I decided to cut them to fit a dog that’s 1″ by 3/4″. I first cut out a “gold dog” to use as a benchmark for each hole.
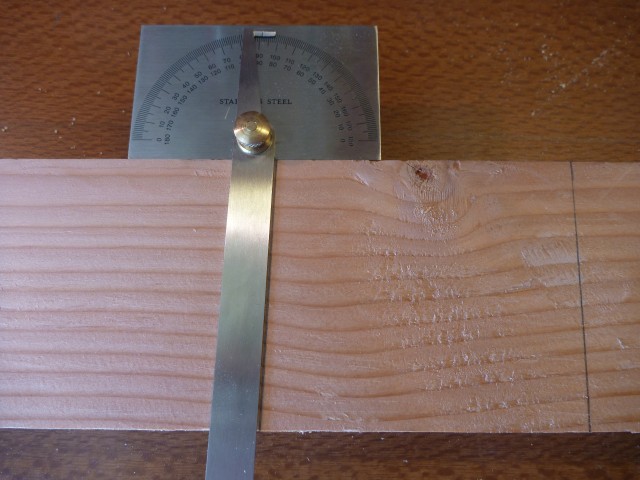
I set my holes 4″ apart and tilted 2 degrees. I used my gold dog to draw everything out. They may not be exact, but they’ll at least all be the same. This metal protractor from HomeDepot worked great to measure the angles.
Since I don’t yet have a vice I used this little trick a number of times. Works quite well…

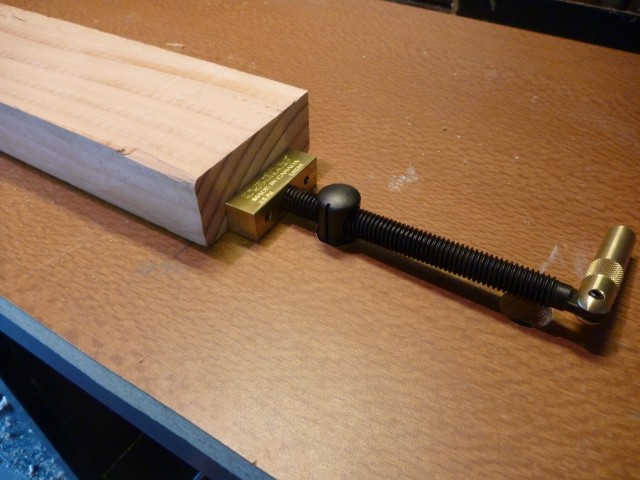
I locked my board down with a Veritas Wonder Dog. This thing worked great.
On recommendations from Woodman I bought a Japanese hand saw for most of my cutting. Another recommendation that was spot on. Cut down to my lines then used my chisels to chop them out.

Once the majority of the waste was out I worked on making each hole fairly exact. I used my gold dog for reference.

Only two left!

That took a fair amount of time. I had it down to about 20 minutes per hole in the end. Though after the first 6 I took a few days off because of blister my small chisels worked up on the palm of my hand.
I tried to keep them as sharp as possible with a water stone but flattening chisel backs and keeping a razor sharp edge was also a lesson in patience.
