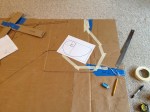
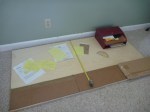
Testing out the idea with cardboard and some wood to simulate design
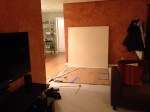
Final tests with a huge piece of cardboard
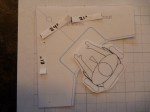
Template of the golden spiral I used for all my curves.
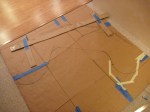
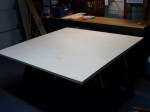
Final tests with the actual wood. Measure twice, cut once!
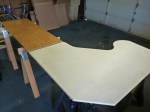
Using my cardboard test ‘desk’ as a stencil to transfer the layout to the wood.
Baltic Birch Plywood. I wanted it thicker than was available so I glued two pieces together.
Preparing to glue
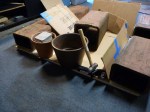
Movable legs arrived!
These worked well but I would have preferred they been able to raise another 4-6 inches. I ended up cutting out some wood feet to put under them to gain some additional height.
Dry glue!
1/4” & 3/4” sheets glued together. After sanding the total thickness was just a 1/16” shy of an inch.
Everything nice and round.
Time to start cutting and routing.
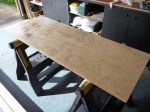
Side desk cut to width.
My boy keeping an important lookout for rodents.
Routed most edges to be nice and curved. Word of warning here: be sure NOT to route edges you want to attach cable management hangers to. I ended up going back and cutting off the left routed edge to get a flat surface to mount hangers to hold USB cables.
Glued, routed, sanded and ready to stain.
Coat #1.
After 3rd and final coat.
Be safe!
So much staining, staining, staining…
The baltic birch after sanding and staining has really nice layered lines.
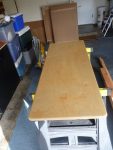
Ready to start attaching legs.
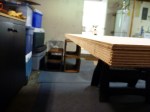
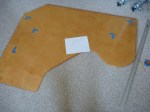
Testing leg placement using the cardboard version of my desk. I only wanted one set of legs so it was tricky figuring out the perfect placement given the odd shape. My final result was a diagonal that gave the most support to the left and back where the laptop would sit and monitor arms would be mounted.
Stencil transferfed. Ready to cut.
Rough cut successful!
Getting there…
Staining finally complete.
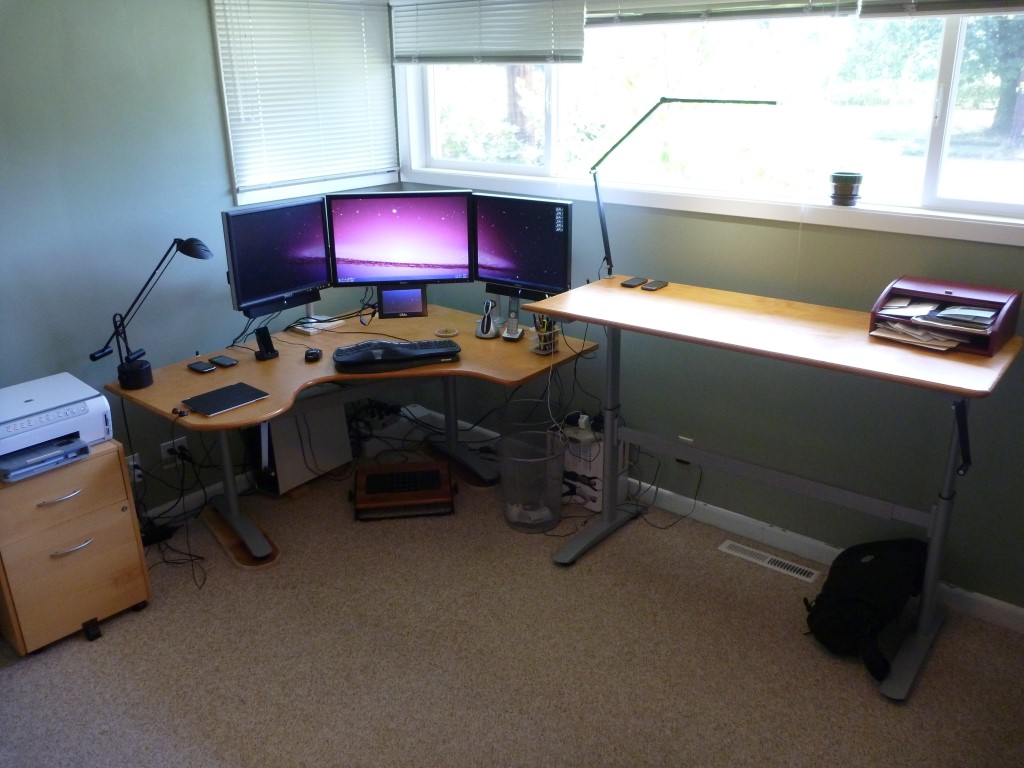
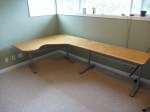
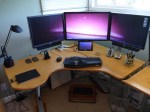
Final result of main desk.
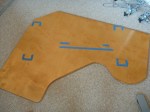
Taped exact location where legs should be attached.
Also taped where the cross bar would be. Then flipped over and verified my knees would not hit it when seated.
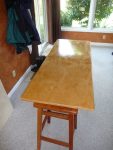
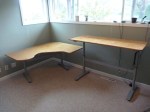
Side desk in place!
Main desk joins the party!
1/2 up, 1/2 down
All up!
Awesome Ergotron monitor arms attached.
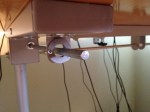
Under the left side of the desk where the crank shaft lives.
The desk is so wide where the crank lives I took it to a local welder that sliced it in 1/2 and welded in a 5 1/2” extension. Word of warning, that costs more than I expected. Those two welds cost me around 100 bucks. But it worked great in the end.