Phase 4 : Legs

A few days ago I finally started on the base.  First up, cutting the rest of my lumber to size. This time around I hunted down a friend that I found out had a table saw.  After the top debacle I had no plans on trying to cut the entire base to size with a circular saw again.

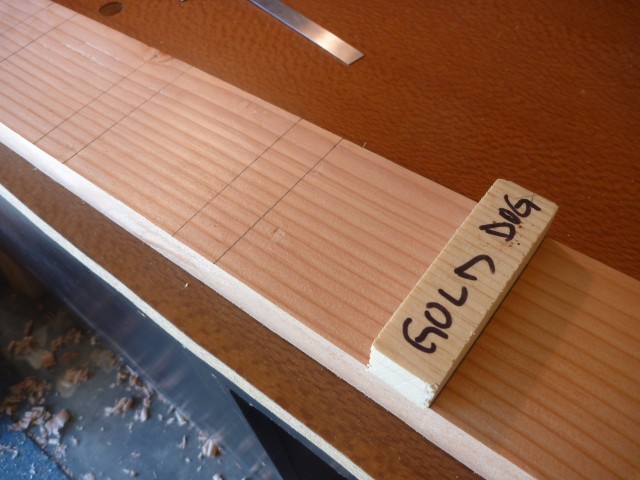
Here are the results…

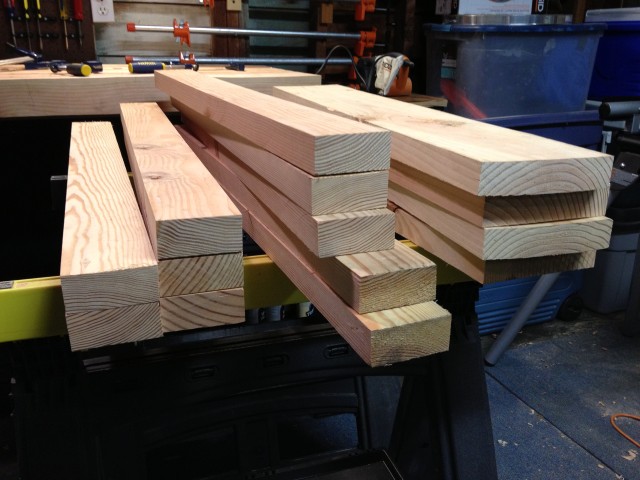
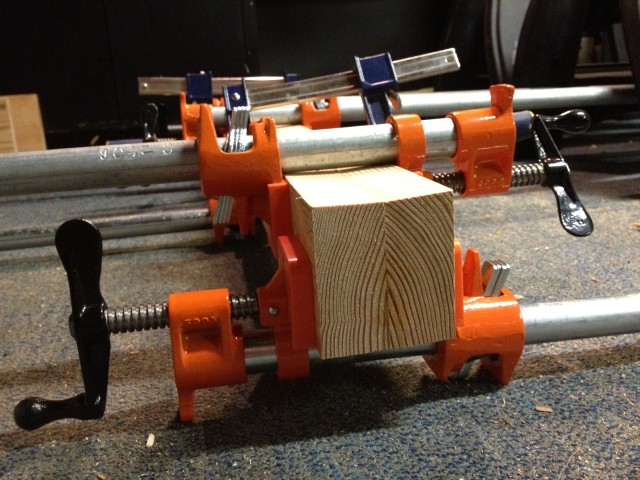
So yeah, a table saw pretty much kicks ass.  I’m kicking myself for not tracking down one sooner.  I didn’t even bother to plane the legs.  I just glued those suckers together.

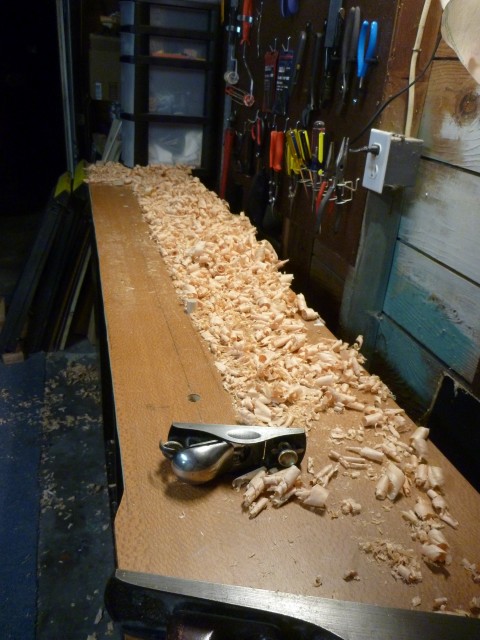
Oh how my painfully jagged top would have appreciated a table saw.  Ah well. Live and learn.  I broke down and have a power hand planer arriving today to try and deal with my top woes.  After hours of planing it became clear my top would not get fixed by hand.

Surprisingly, the Porter-Cable was the only one that came with a dust bag.  Seems trivial but after using a router without dust collection, no thanks.  Attempts to find a dust bag for the others either came up empty or expensive.  This one, with dust collection, was significantly cheaper and got decent reviews.  Hopefully it holds up.

And yes, I could have bought new lumber, borrowed my friends table saw, and redid my entire top without need for the power planer for a fraction of the cost.  But then I wouldn’t have a cool new power tool.


Dog Hole Board

Towards the end of my planing & glue up stage I chiseled out my dog hole board.  I decided to go with square holes rather than just drilling in hole at the end, 1. because I think they look cooler, 2. see #1.

I decided to cut them to fit a dog that’s 1″ by 3/4″.  I first cut out a “gold dog” to use as a benchmark for each hole.

I set my holes 4″ apart and tilted 2 degrees.  I used my gold dog to draw everything out.  They may not be exact, but they’ll at least all be the same.  This metal protractor from HomeDepot worked great to measure the angles.

Since I don’t yet have a vice I used this little trick a number of times.  Works quite well…

I locked my board down with a Veritas Wonder Dog.  This thing worked great.

On recommendations from Woodman I bought a Japanese hand saw for most of my cutting.  Another recommendation that was spot on.  Cut down to my lines then used my chisels to chop them out.

Once the majority of the waste was out I worked on making each hole fairly exact. I used my gold dog for reference.

Only two left!

That took a fair amount of time.  I had it down to about 20 minutes per hole in the end.  Though after the first 6 I took a few days off because of blister my small chisels worked up on the palm of my hand.

I tried to keep them as sharp as possible with a water stone but flattening chisel backs and  keeping a razor sharp edge was also a lesson in patience.


Phase 2 : Planing & Gluing

The next few months were mostly spent wrapped up in work, and traveling.  Eventually I got back to planing and gluing.

I added some holes to my temporary workbench, created some simple dogs and went to town.

 They started out pretty bad:

After attempting to square each board I’d glue it up.  The first two…

I used a piece of cardboard to spread the glue nice and even.  Seemed to work pretty good.

Then more planing…


I eventually glued up enough until I made it to the board where I wanted my dog holes.  I took a break from planing & dove into some chiseling.  Once my dog hole board was done that got glued up.  Unfortunately I needed one more clamp so I hacked this together:

A little sad but it did the job.  Needless to say I ran out and bought a few more pipe clamps.

Finally, the top was all glued up.  The planning definitely helped square the faces and keep the top relatively straight with out too many gaps.  Well, too many gaps for what I’m considering acceptable.

The biggest issue is, as you can see, the horribly different sized widths.  I mostly focused on getting square faces for the gluing and less on fixing the width issues.  That’s tomorrow Mike’s problem.

A word on my clamps…

I decided to use pipe clamps rather than the far more expensive F clamps you can get at HomeDepot.  These where key and worked great.  I decided on 36″ silver galvanized pipe with 3/4″ Jorgensen Pipe Clamp Fixtures.  There’s some debate about black pipe vs. galvanized.  I decided on galvanized based on some recommendations, the fact I didn’t want everything black, and it was cheaper.  The only issue I’ve noticed is they gouge where the clamp rests.  It doesn’t seem to be a real problem but it does make the springs fairly difficult to disengage when you loosen the clamp.