Annoyed by not being able to see my F-keys when it’s dark I devised this little lighting system that works great. Ideally I’d like an illuminated keyboard but sadly those only come on laptops these days. At least the one I require isn’t lit. Until now…
A few years of procrastination and life getting in the way but I finally picked up the chisel and finished this puppy.
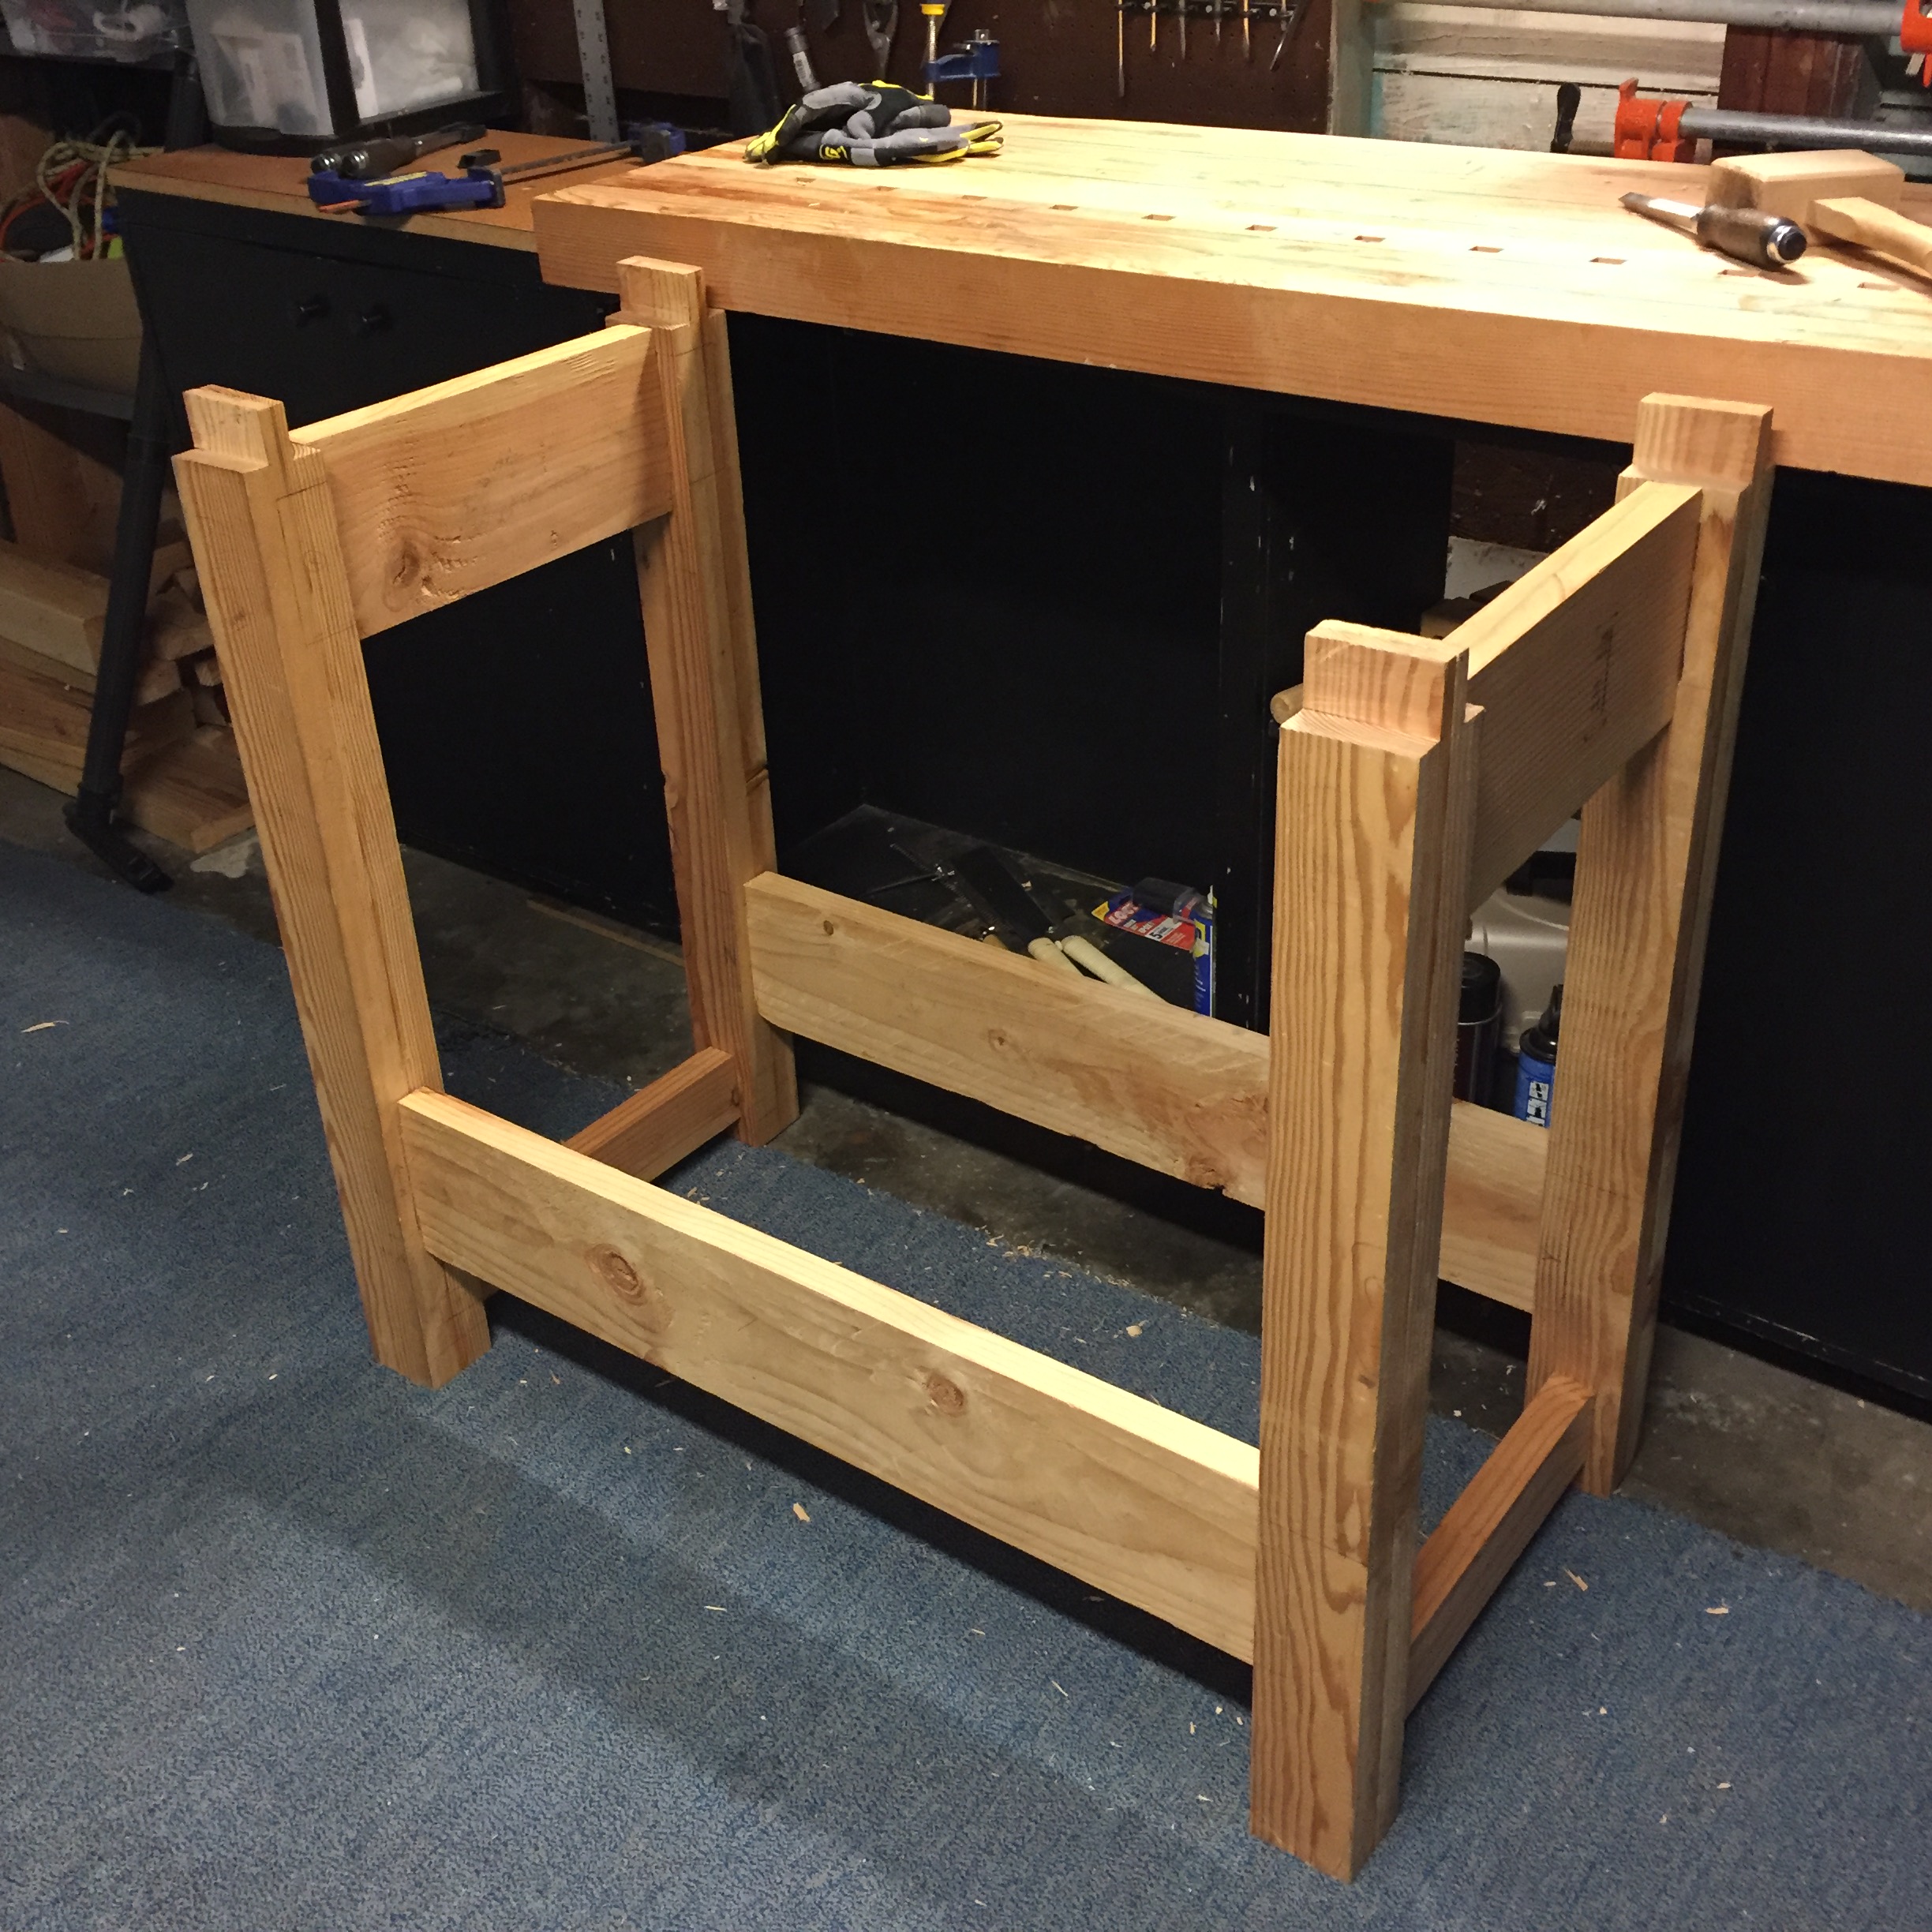
Once all the mortises were finished I drilled the holes in my legs and rails. Then cut out the small mortise for the bolts.
With that done I finally put the entire base together including the rail bolts.
Time to connect the top! The guide I was using said nothing about how to do this but since everything else was mortise and tenon my plan was to do the same.
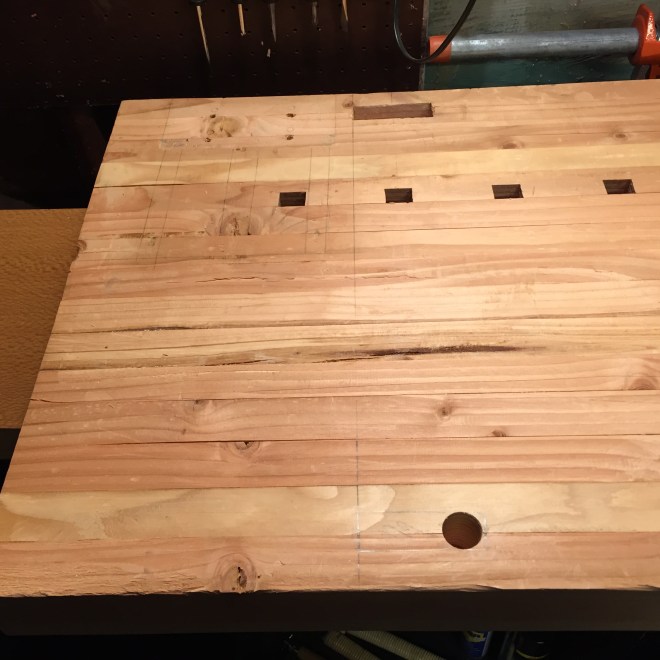
With my top upside down on the floor I aligned my base and marked out my top mortise locations. Used a ruler to verify everything was in the correct place then held my breath and went to town drilling and chopping.
Far mortise finished, near started with first hole drilled. You can also see the outline of where the vise will go.
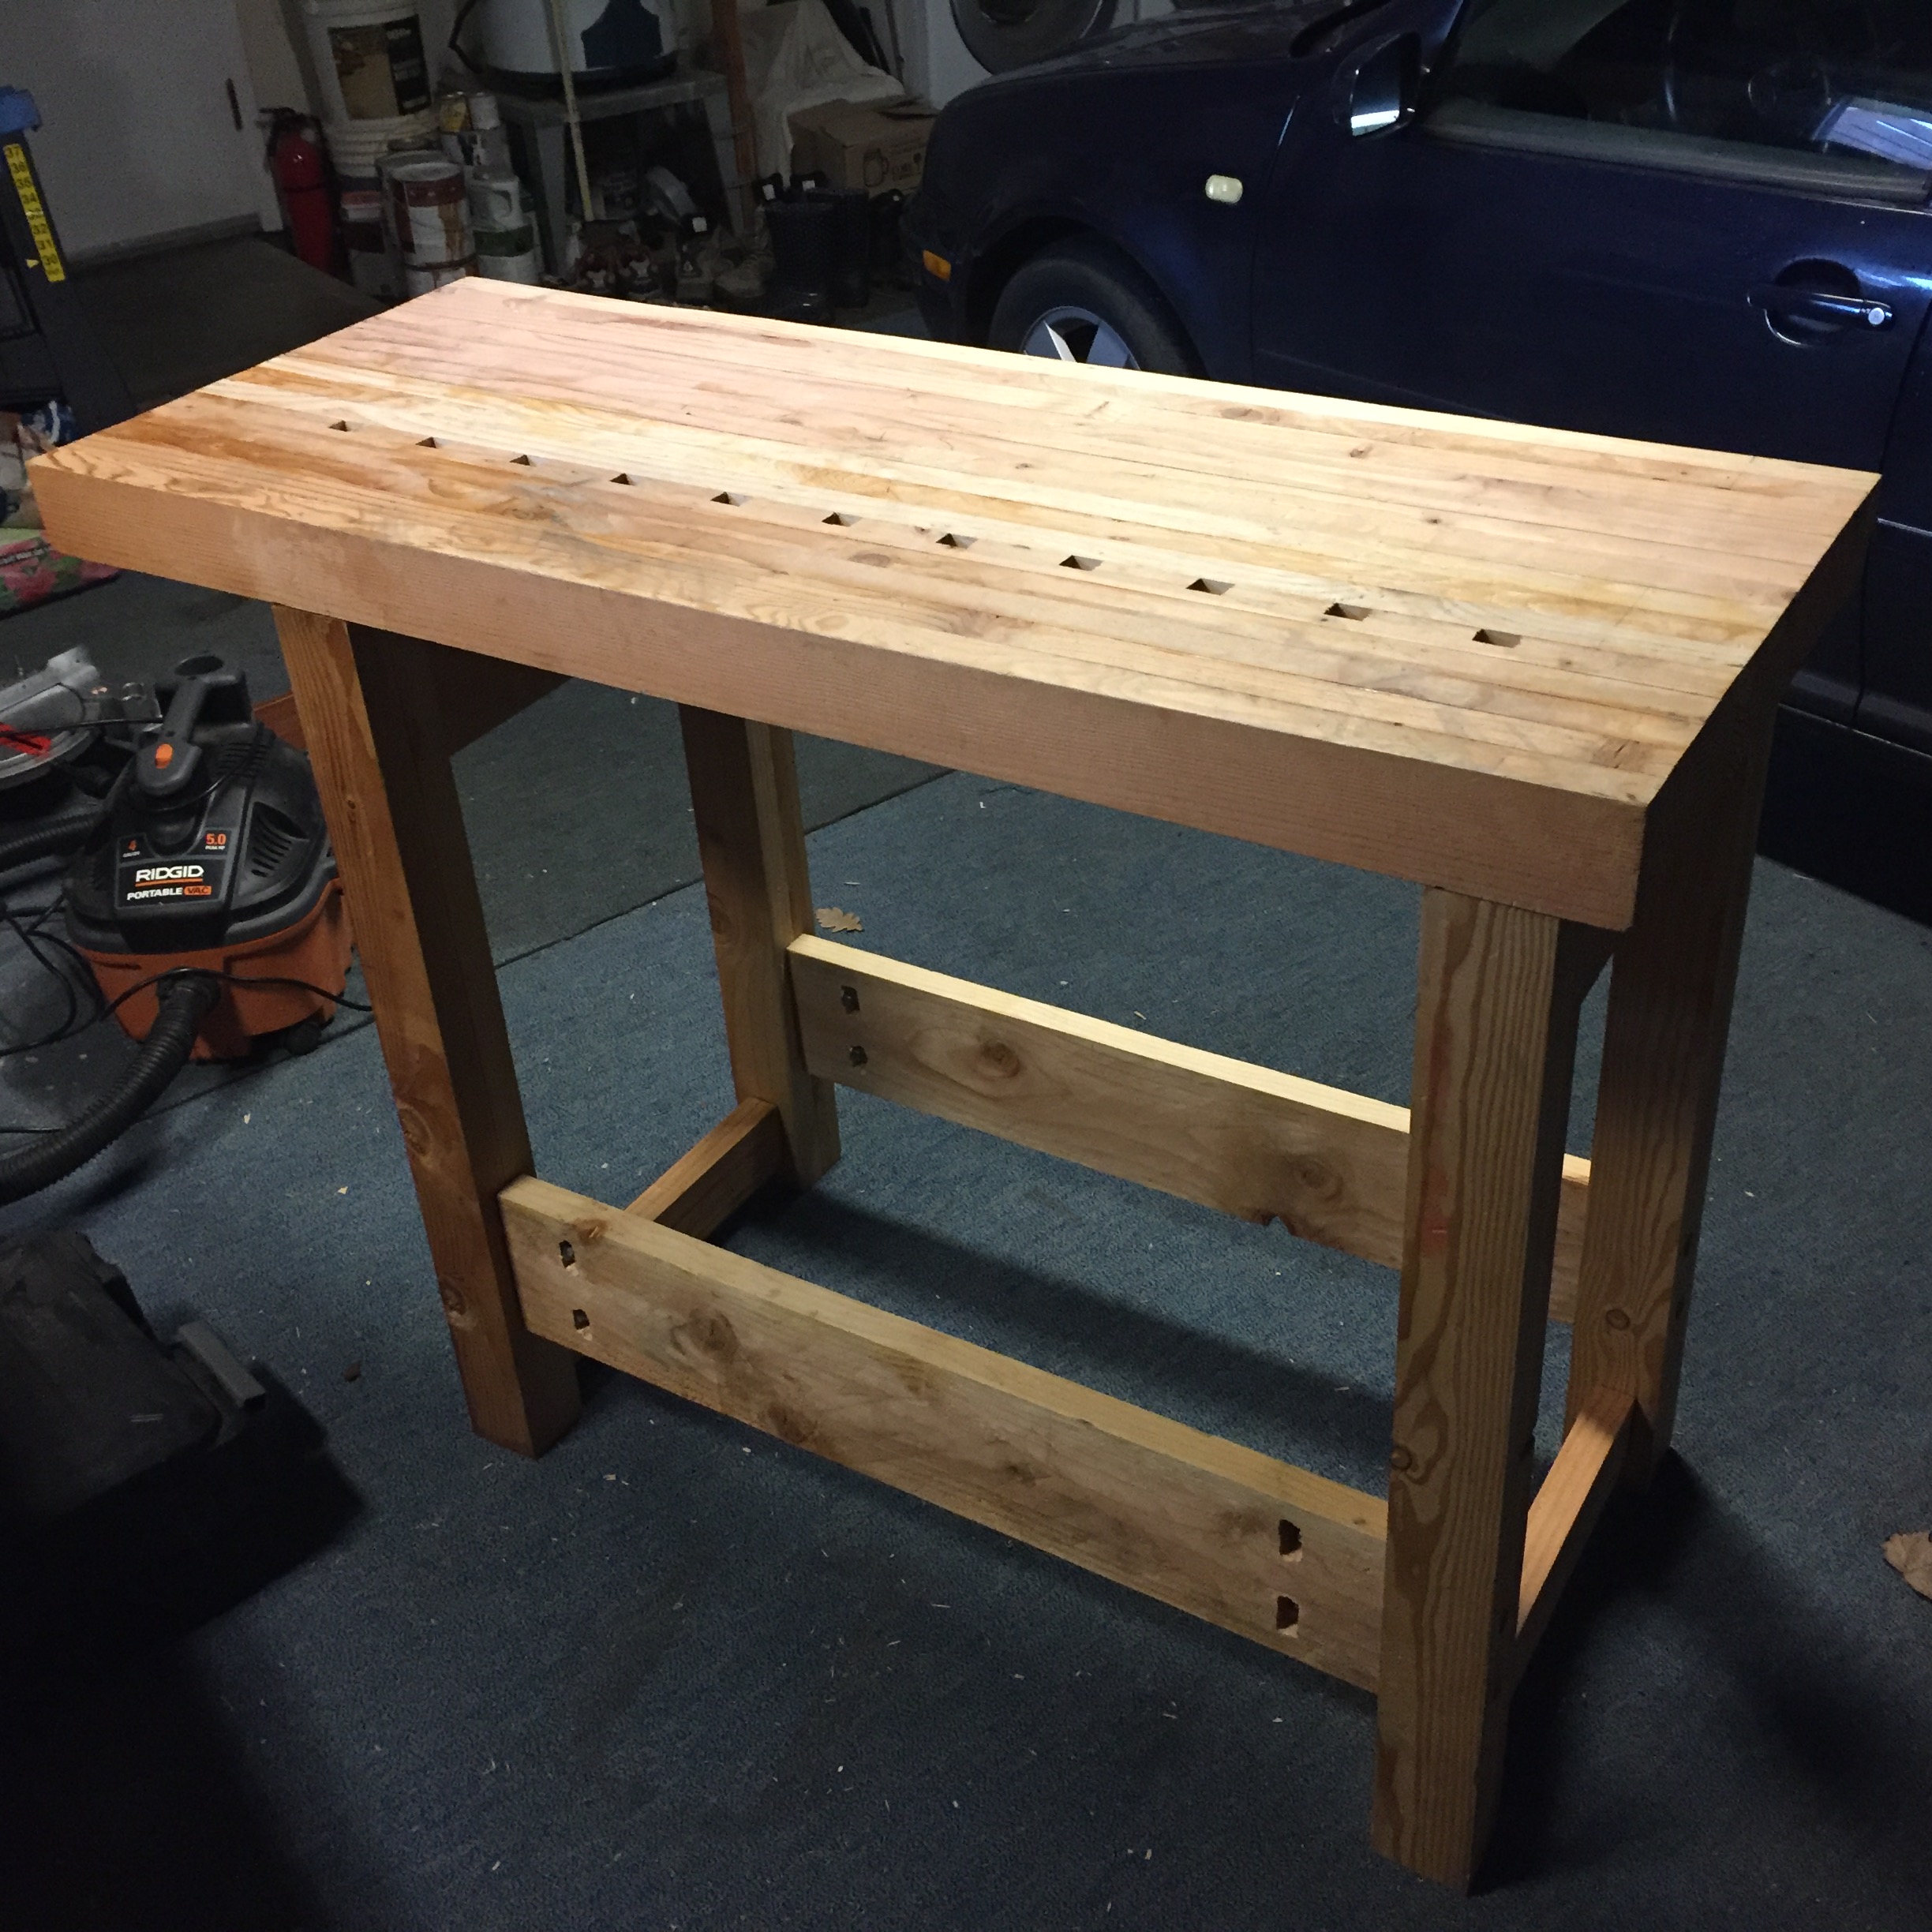
Finally it was time! I glued this bad boy together. Everything except the rails that use bolts.
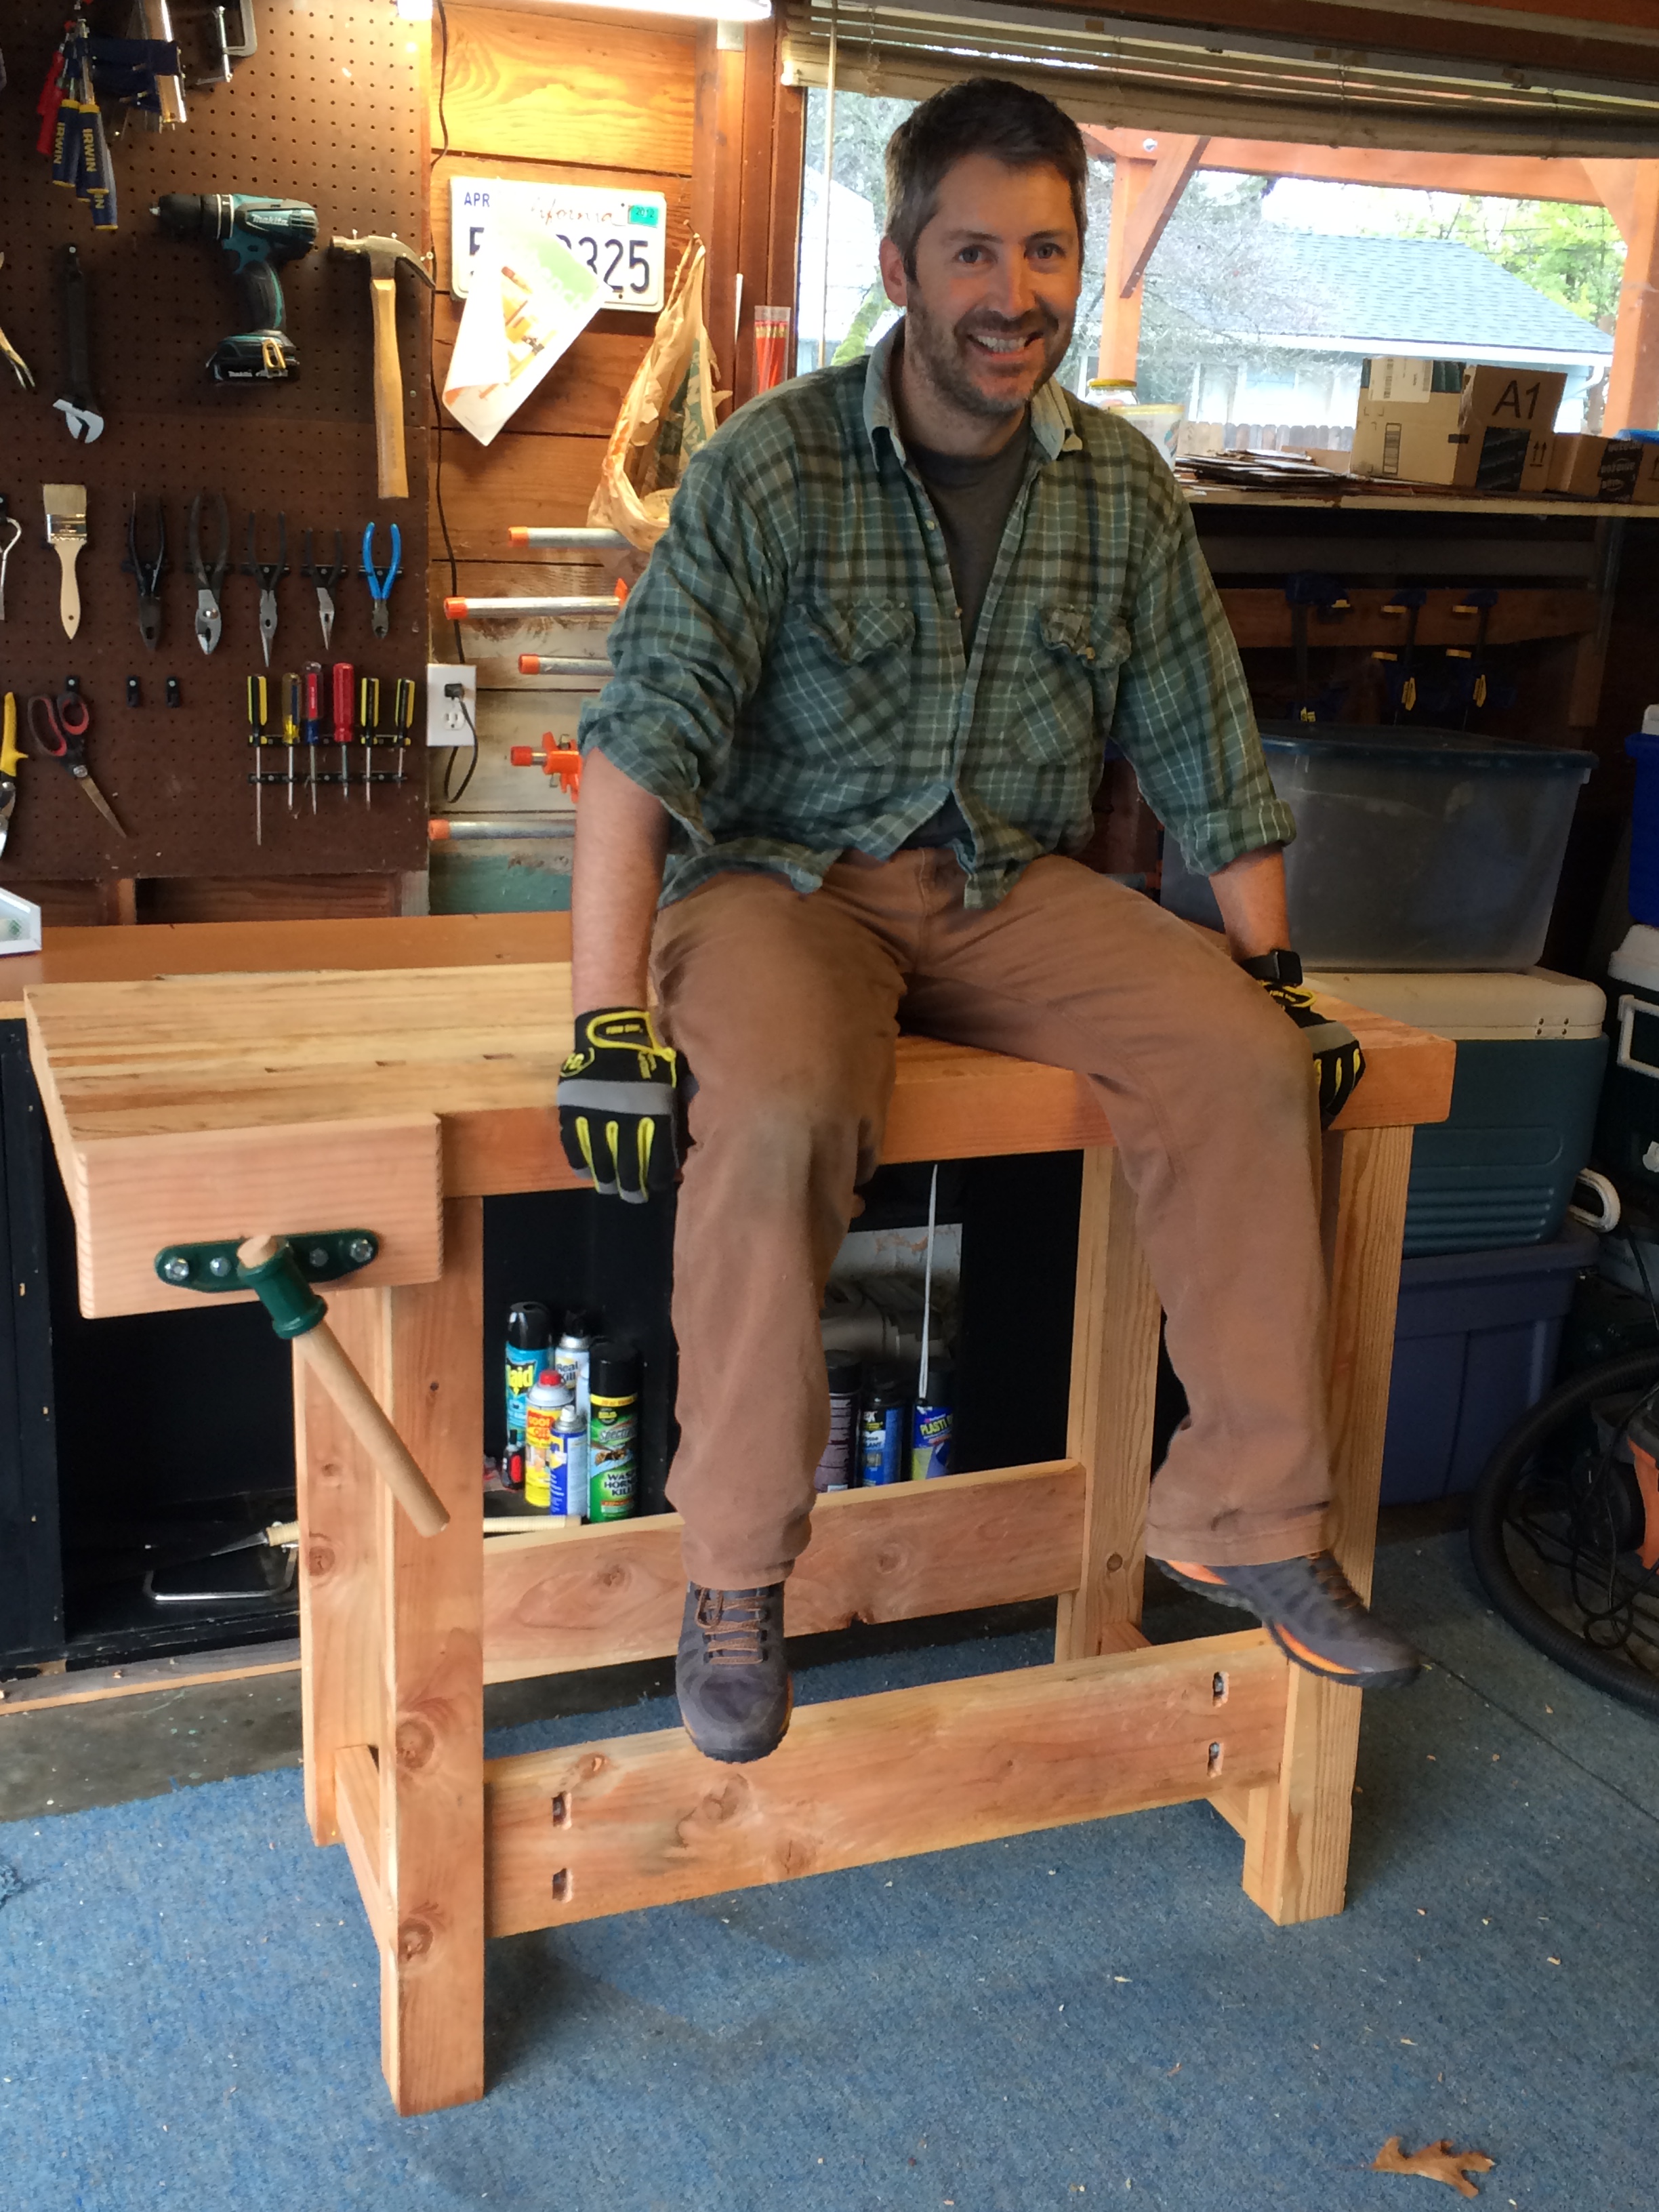
And last but not least, the vice. I didn’t use hardwood for the face as recommended by the vendor because I just wanted it done and had plenty of pine left. It seems to be working fine and it’s easy to change later if need be.
So after 3 & 1/2 long years it is finally DONE!
Some final thoughts…
The biggest regret I have is not using a table saw to do all the initial rips. Using my friends to rip the legs made such an epic difference. My legs are incredibly square, sadly my top is nowhere close. But it’s good enough for version 1.0 and over time I’m sure I’ll get around to squaring it up a little better.
But for now, I’m gonna go actually build something on it!
Camped Friday night on Diamond Lake at the main site on the North East end of the lake at site C6 next to the lake.
A great trip with stunning views.
We made it within a few 100 yards of the summit but puppy was getting tired and the scree was getting worse so we called it quits. No one wants a pup with sore paws.
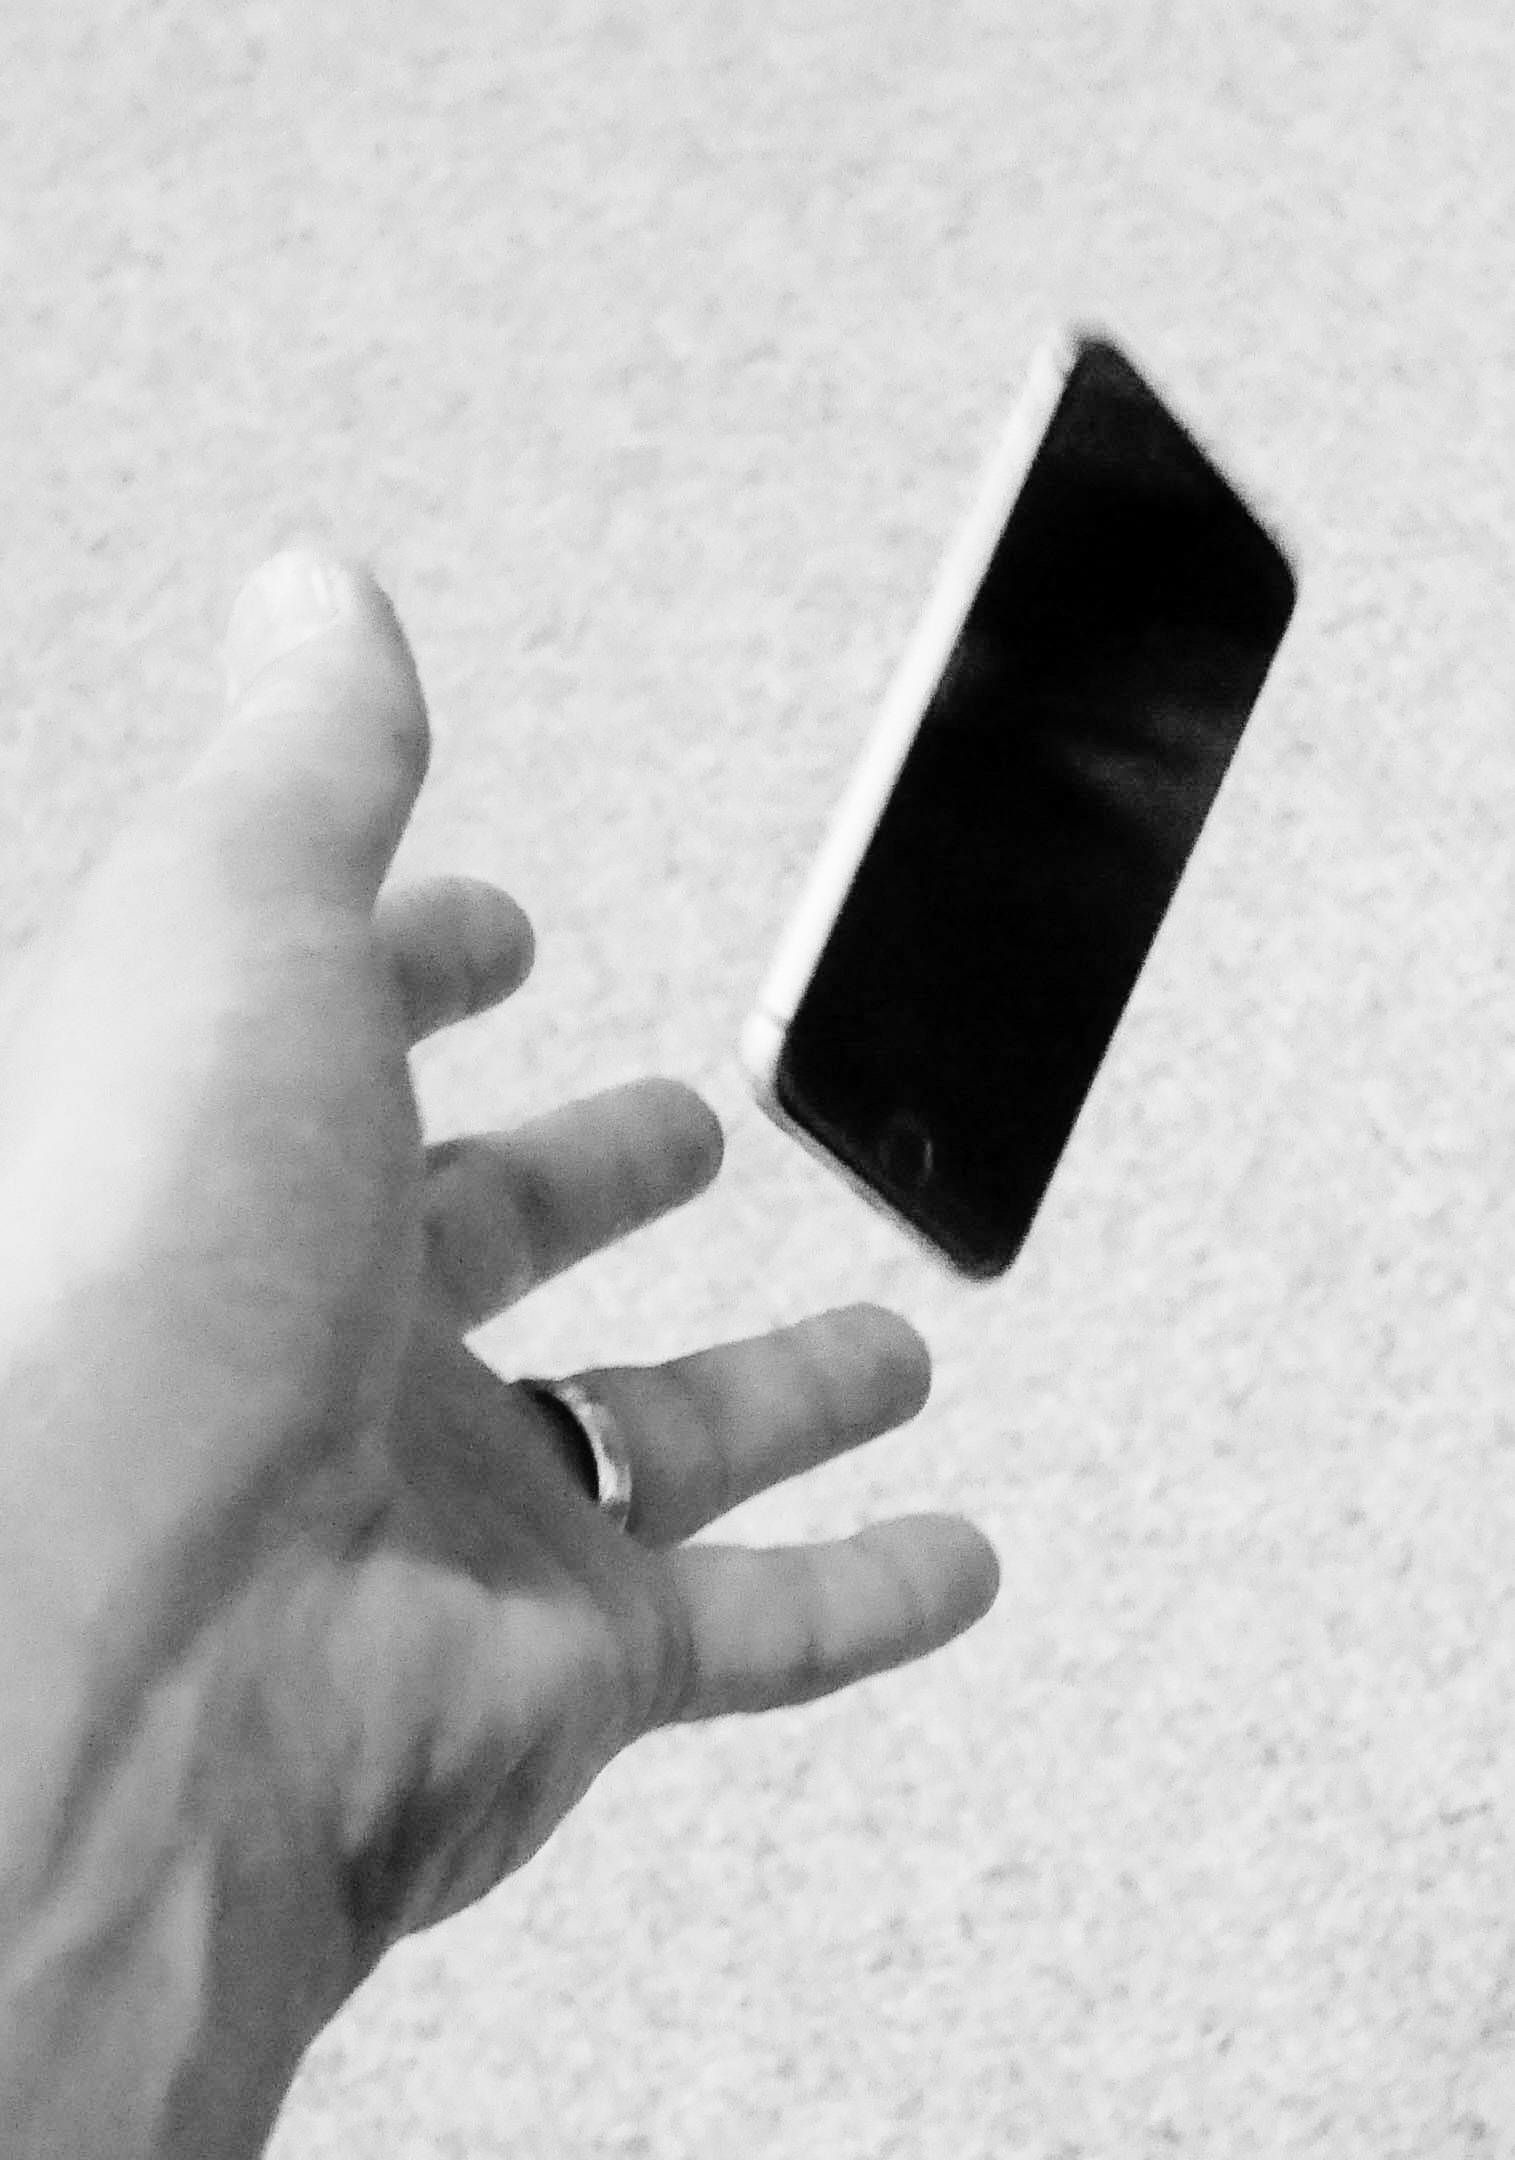
So you just got a new iPhone 6 and the first thing you notice is how terribly slippery it is. First solution that obviously comes to mind is getting a case. That helps, but then you sacrifice size. Why have this beautifully thin phone if you’ve got a gigantic case wrapped around it.
With a few easy steps and around 25 bucks there’s an easy fix. Keep in mind, this solution doesn’t create any protection for your phone, it keeps it nice and lean but adds some much needed grip. Continue reading How to Fix a Slippery iPhone
Dec 17th – 20 : Bangkok
Dec 21st – 27th : Koh Jum (Koh Po)
Dec 28th – Jan 1 : Chiang Mai
Jan 2nd : 9 hour layover in Seoul, South Korean before heading home
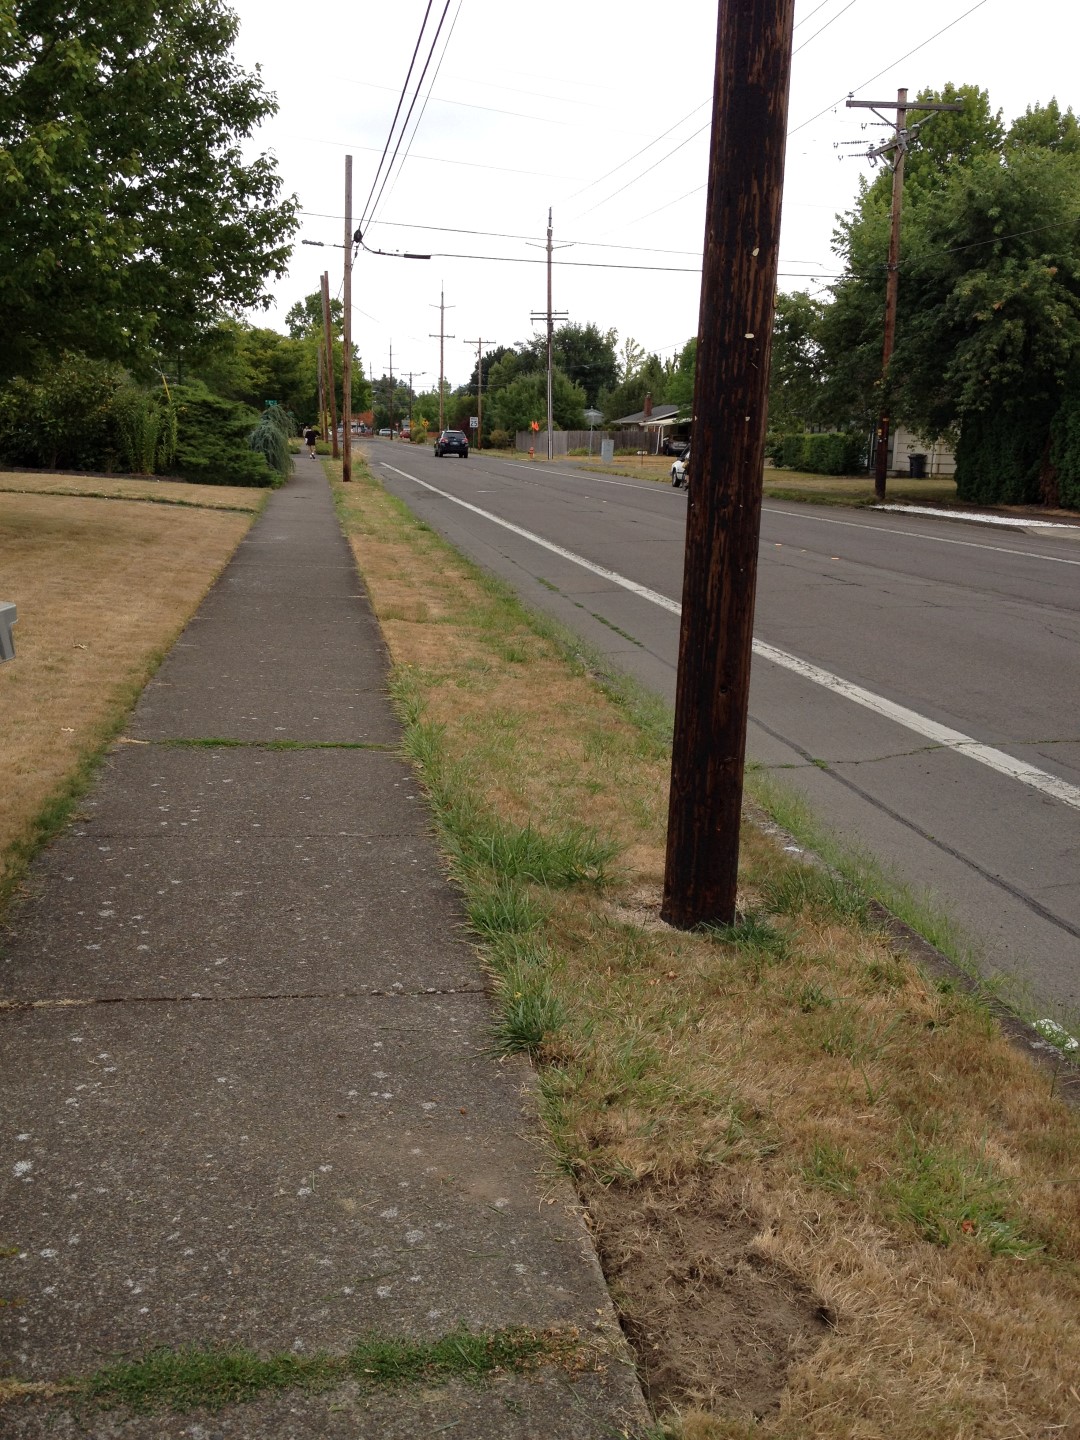
I live in Oregon so I guess I’m supposed to call it a Curb strip or Parking strip but come on, road verge, the aussies got it right.
Aside from looking pretty lame it annoys the crap out of me every time I have to mow it. So it’s out; mulch, tumbleweed and some desert grass are on their way in.
Before
August 12, 2013
You can see my initial test with and edging spade. After an hour of that it was clear some gas powered 2-stroke engines would be required.